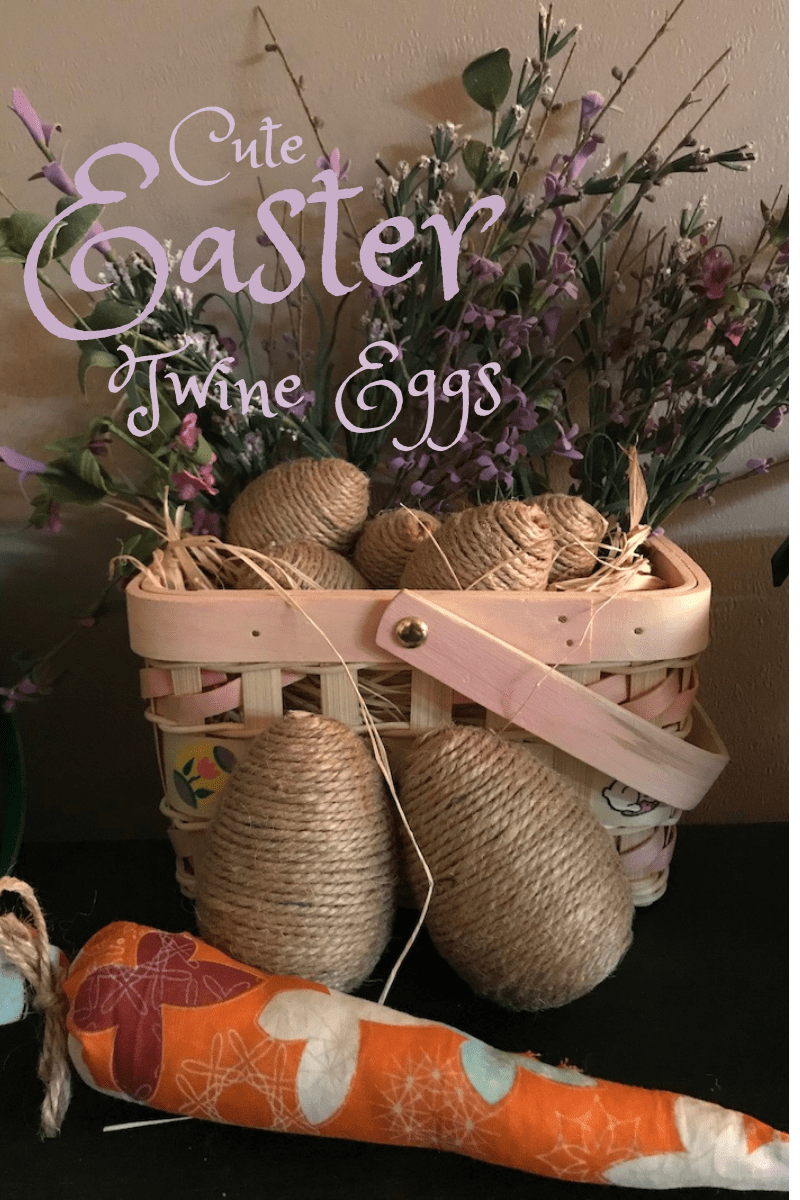
Easy DIY Twine Eggs
Ya’ll I am over the moon for these Easy DIY Twine Eggs! They are so simple to make and turned out so stinking cute. I am already thinking about what else I can wrap twine around.
A few weeks back I started putting out my spring decorations. I typically don’t really decorate for spring because I have so little decorations that it is more of a pain to get the tote out than anything. So I have just left it in the top of the loft and have refrained from buying any additional spring decorations.
But now we are slowly starting to take my totes to the farmhouse after each holiday to store them in an out building there. With this being our last easter in the house, I wanted to decorate one last time. However, this made me want to start buying decorations. After looking online I found some super cute decorations but the price tag was not so cute! Twelve dollars for some eggs wrapped in cornhusk…. No thanks
While the price tag was more than I wanted to pay, it did send my mind to reeling on what items I could repurpose and give new life in my home.
An abundance of eggs
One thing that I have an over abundance of are cheap plastic Easter eggs of assorted colors and sizes. Like I said before, I do not typically get my decorations down for Easter. This means that every year I go to the Dollar Store and buy a cheap bag of eggs to hide for the kids since I can never seem to remember where I put them from the year before.
This year, I found that I have even more eggs than I originally thought. I stuffed them in baskets and sprinkled them throughout the house for pops of easter color. But they are still just plastic eggs and that leaves something wanting in the home decor column for me. I prefer a more natural, less plastic look to my decorations.
With all of these eggs I began to devise how I could give these plastic eye sores new life.
What you will need
The list for this project is fairly simple.
- Plastic eggs- various sizes
- Hot glue gun and glue sticks
- Twine
So as you can see, this project is also fairly inexpensive. Those $12 eggs that I found online turned into $1.38 all in investment since I have the glue gun, sticks, and eggs already! That is definitely more in my price range!
Step by Step
Step 1- Heat your glue gun. Be very careful during this project as the glue does get very hot and will burn you. I burned myself quite a few times…. probably not a project you want your littles help with. You can also use craft bond glue, but I would recommend to start the bottom strand with a hot glue gun so it sets immediately and then follow with the craft bond. Otherwise your twine will slip out of place

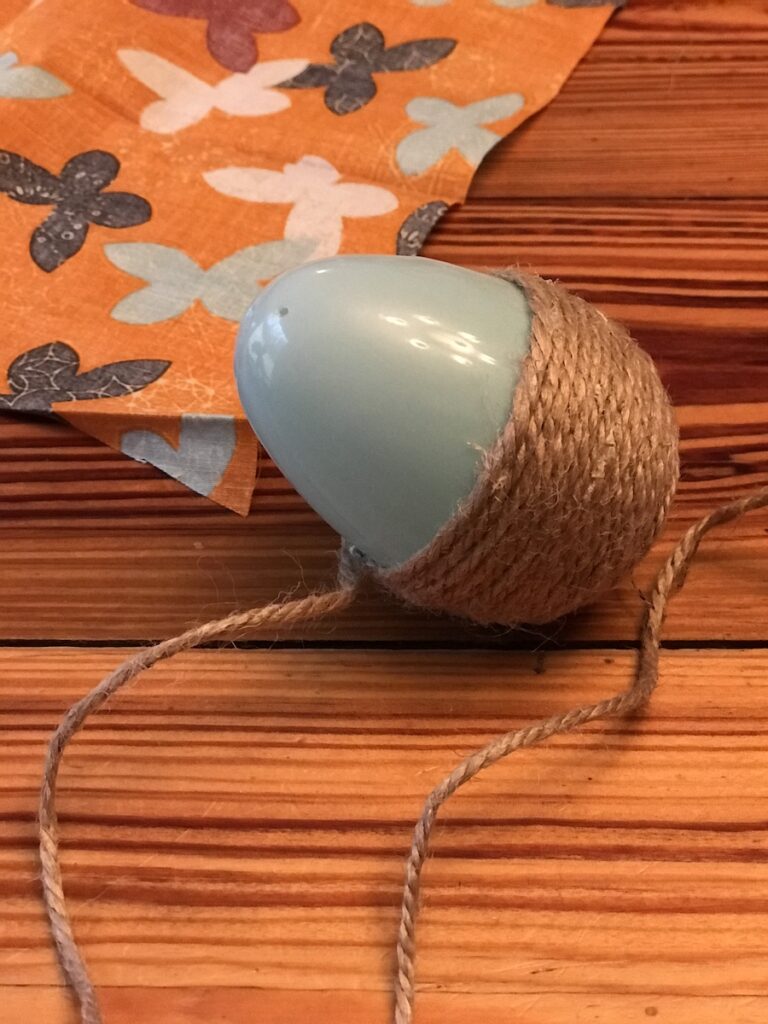
Step 2- Starting in the bottom center of the egg place a dot of glue and start the end of the strand. Let it set for a few seconds before starting to wind
Step 3- Applying glue intermittently, wind the twine tightly around the egg from the bottom moving up. Push the twine close together as you move up trying to stay straight.
Step 4- Once you are at the top crown of the egg, apply glue to the center and wind to completion. Hold tight until set and then cut the twine flush.

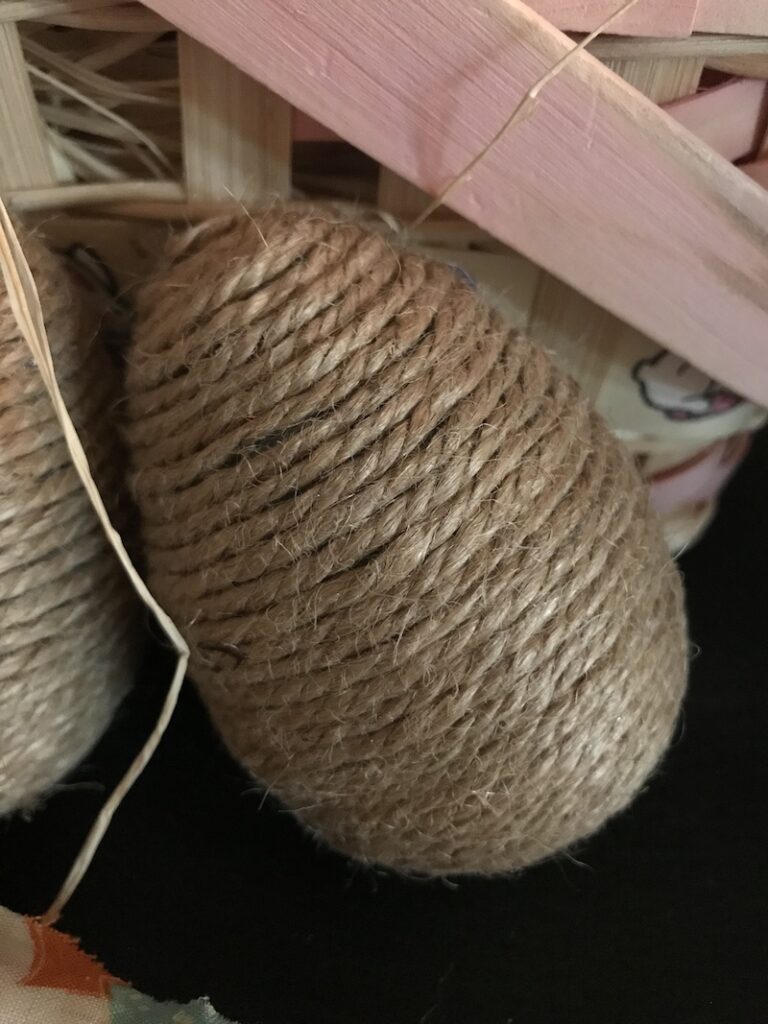
You are complete! These eggs are seriously the cutest and I am absolutely in love with them. I hope you give this fun DIY craft a try this easter. To be honest, these little eggs will probably find a permanent home in my farmhouse decor and will not be put away with the rest of the Easter decorations this year.
If you want some more DIY projects from Hackett Hill Farm like this one, check out our DIY Joy Wine Bottles. Follow us on Pinterest for more great DIY and Recipes!


2 Comments
Michelle Gast
That is adorable and looks easy to do! Thanks for sharing!
~Michelle
https://michellescrazybusylife.net
hacketthillfarm
Thank you so much !! It is so super easy!