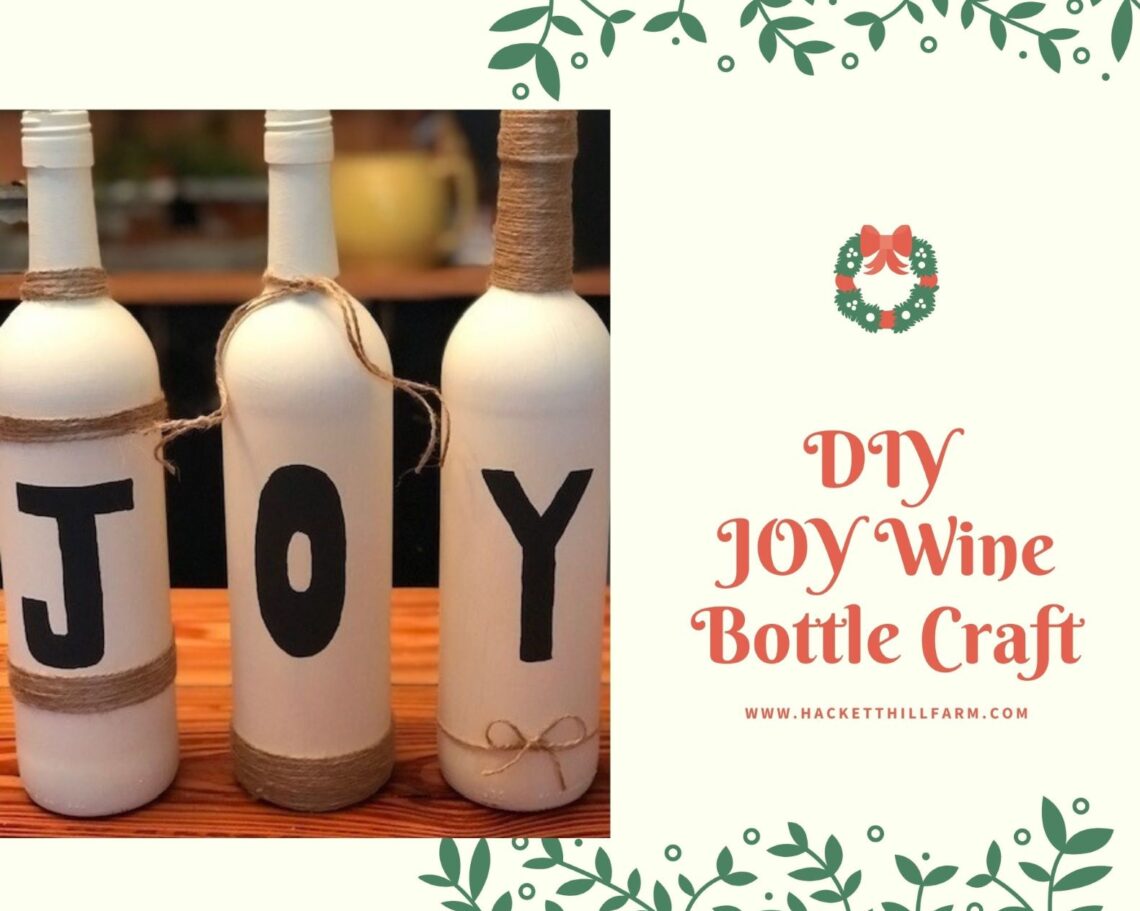
DIY- JOY Wine bottle
I love a good DIY craft, especially on a rainy day. I don’t get to do it as much as I would like, but I wish I did. I got my inspiration for these DIY Joy wine bottles as I was flipping through Pinterest one day and knew that I needed to make them. What a great way to use all those wine bottles! Haha.
To be honest, I do love a glass of wine in the evenings, but I have never been one to buy an expensive bottle. If you aren’t a wine drinker, but still want to do this project there are tons of different glass options you could use including mason jars.
These little bottles are by no means perfect. The paint is slightly streaked from the brush strokes and the letters are no where near perfectly straight, but I think it adds to the charm of them being homemade.
For this project, you will need just a few simple items:
- Glass bottles
- Paint colors of your choosing ( I used pavement, gold, and antique parchment)
- Acrylic Gesso or some other type of primer
- Ribbon, Jute String, or Twine
- Calligraphy Marker- Optional
- Paint brushes
Step One:
You want to first ensure all labels and glue are removed from the bottle. I soaked the bottles in warm water until the labels softened and peeled the bulk off with my fingernails. The remaining glue came off easily with a good scrub from a Brillo Pad. Once clean allow them to dry fully.
Right before painting, take a cotton ball soaked in alcohol and wipe down the full surface. This will remove in additional residue that may be hanging around. Try to not touch the surface after cleaning to prevent transferring the oil from your fingers to the bottle.
Step Two:
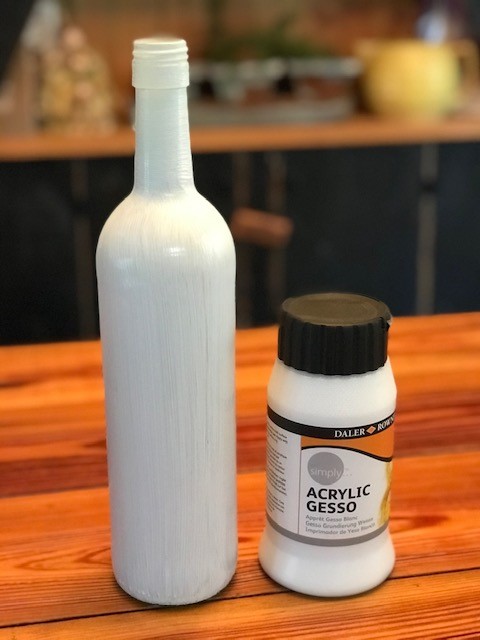
Now that the bottles are all cleaned you can begin the priming process. To apply the primer I used a 1 inch paint brush. I made sure to cover every bit of the neck and bottle. Once complete, set aside and let dry completely. It will take about 15 to 20 minutes to become completely dry.
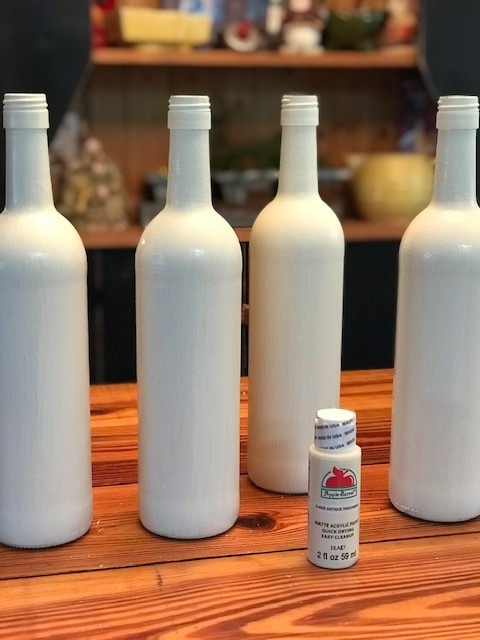
Step Three:
Once the Primer is dry, it is time for the base color. I chose a neutral Antique Parchment. It has a slightly yellowed undertone to it. This compliments the gold and the twine that I chose to use. Pick your favorite color and apply just like the primer. Allowing it to dry between coats. I did two coats, but you can apply more depending on the look you want.
Step Four:
One the base color is completely dry you can begin your design. I chose to do two different designs of Joy. One on a single bottle in gold and another across three bottles. On the single bottle I used a Gold Calligraphy Marker while on the three bottles I free handed the letters first with a basic pencil and then painted them with Pavement.

Step Five:
Now for the final step. Add your bling! Add your ribbons, twine, or Jute string as you would like to give the bottles some depth and texture. I did all of mine different, but if you are someone that needs symmetry do them all the same. There is no right or wrong way! It is all in what you like. You can also add greenery or a berry pick to give some additional color.

I hope you all enjoy this super simple farmhouse DIY Craft! If you try it, leave me some photos of your creations in the comments!

2 Comments
Michelle Gast
That is a wonderful and cute idea. Thanks for posting!
~Michelle
https://michellescrazybusylife.net
hacketthillfarm
Thank you!