
Easy Strawberry Jam without Pectin Recipe
Strawberries scream summer decked out in their bright ruby red flesh and bright green hats. Picked straight from the vine is always a special summertime treat. This simple recipe for strawberry jam without pectin brings back the taste of summer no matter what time of year it is.
A few weeks back my husband and I purchased two flats of strawberries to support our local cheerleading team. Our kids love strawberries and we couldn’t pass up the chance to help out. We were all so excited when we got the call that they were in.
Knowing that although my kids can crush a two pound container of strawberries in just one day, I would have more strawberries than they could get through before they started getting soft. To fix that problem I set my mind to making some strawberry jam.
What is the difference between jelly, jam, and preserves?
They are all the same thing right? Wrong! Jelly is the product of strained fruit mixed with sugar and pectin and brought to a boil. This results in a translucent and smooth final product. Jam on the other hand contains crushed fruit while preserves have chunks of fruit in the final product.
Jam is my jam!
I love the studs of fruit that decorate the final product and give that extra burst of strawberry flavor when you bite into them.
This particular jam recipe is lower in sugar and contains no pectin. That means it results in a softer final product that is easily spreadable and closer to a strawberries natural flavor. It also means that the boil time of the jam to set at gel stage may vary depending on the fruits ripeness and water content.
Tools needed to make Strawberry Jam with No Pectin
I like to keep it simple with just a few go to tools that I use whenever I can at home.
Jars and lids
This is an oblivious one. Jars and lids are important, but it can be daunting if you have never selected these before. For this jam recipe I use pint regular mouth jars.
They make these cute little jelly jars, but let me just be real with you, my family can eat a jelly jar size in one sitting. I don’t have the space in my pantry to store the number of jelly jars we would need for this jam.
If you are a smaller family then a jelly jar may be perfect for you.
As far as brands I prefer Ball, Kerr, and Golden Harvest in the order. I am sure other jars are fine, but I have always had great success with these brands so I stick with what I know works!
Large Stock Pot (or two)
This jam is a water bath method, meaning that you do not have to have a pressure canner. I still use my canner to water bath my jam, but it is not necessary. A large stock pot will work just as well.
If you are a beginner I recommend using what you have on hand until you decide that you love to can or borrow from someone who has canning supplies.
You will definitely need a pot large enough for five pounds of strawberries (about 8 to 10 cups of prepared strawberries)
Basic Canning Kit
Basic canning kits typically include a funnel, jar lifter, and lid lifter. These are the top three items that I use all the time. However, I will say my momma never used any of this stuff so it isn’t a necessity, just a nice to have.
Potato Masher
I use my hand held potato masher for nearly any kind of mashing. It is a great tool to have in the kitchen. In this recipe you will use it to mash your berries to their final consistency. If you do not have a potato masher you can use a sturdy whisk to break up the berries but it may take longer.
Clean Kitchen Towels
Always have a bunch of kitchen towels on hand when canning. These help to protect your counters and make cleanup quick and easy.
Candy Thermometer or Frozen Spoons
Jam sets at 220 degrees Fahrenheit. It is a good idea to have a candy thermometer on hand especially if you are inexperienced in making jams.
Another way to test doneness is by placing a few spoons in the freezer at the beginning of you jam making process. When you think you jam is ready place a dollop on the back of the frozen spoon. If it gels it is ready. You can test this by running your finger through the center to make a “road”. If the road doesn’t close it is done!
Ingredients for Strawberry Jam without Pectin
The ingredients for this strawberry jam are minimal!
Strawberries
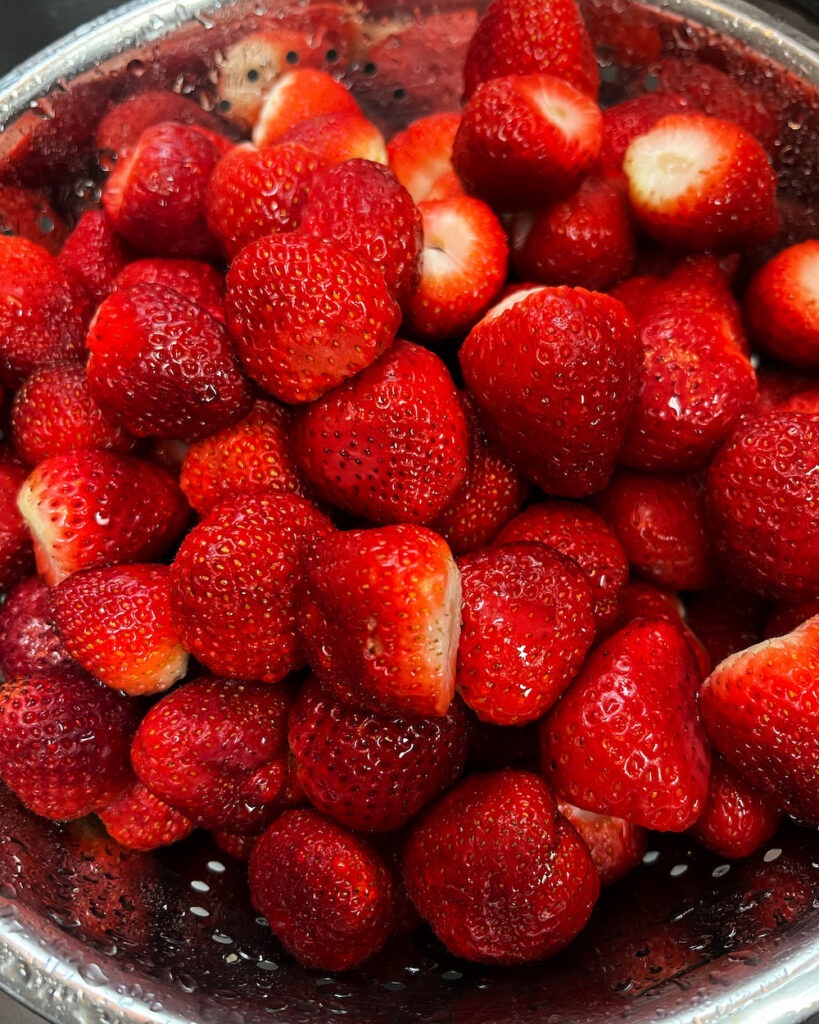
First you will need five pounds of fresh strawberries. Washed with tops trimmed off. Look for fruit that you would want to eat fresh. Cut out any bad spots and throw out any soft or mushy fruit. The product you put in will determine the quality of the final product.
Sugar
Next up is sugar. I love being able to taste the natural sweetness of the strawberries, so I opt for a lower sugar content in my jam. This can result in a longer boil time to jell and a softer jam overall. I am okay with both of those things because in my opinion the final result tastes better!
For every five pounds of strawberries I use three and a half cups granulated sugar.
Lemon Juice
Lemon juice is added to this recipe to balance out the flavors and aid in preserving through the addition of acid to the final product. The lemon juice is not added for flavor but rather as a flavor enhancer.
In this recipe a quarter cup does the trick.
How to Make Jam
Now that you have all your tools and ingredients it is time to make some jam!

Prep Berries
Start out by prepping your strawberries.
Remove tops and any small soft spots. Remember that if the berry isn’t something you would eat fresh then you don’t want to put it into your jam.
Wash the berries. Do not wash berries until time to use them as washing berries and then storing them will promote rot.
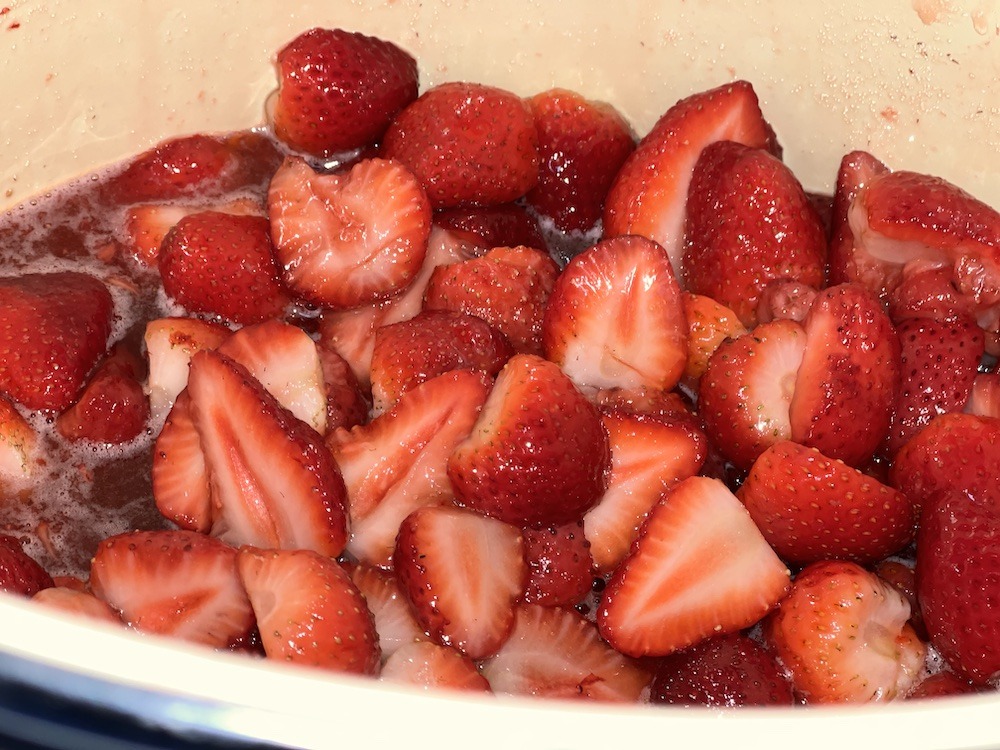
Cut the berries into halves and place into large stock pot.
Next stir in sugar and lemon juice until all the strawberries are coated and turn the heat onto medium low.
Prep Jars
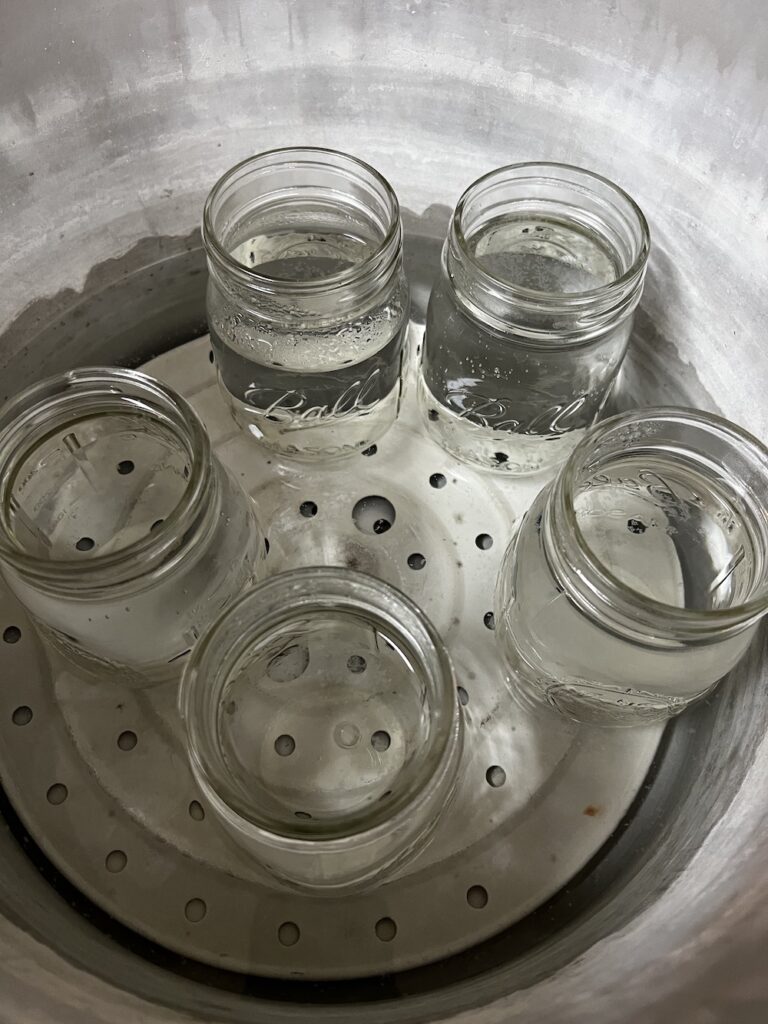
While the berries macerate prep jars by washing the jars and rings in warm soapy water then bringing them to a boil in the water bath canner. Boil for 10 minutes then reduce heat to keep jars warm until ready to use.
Add lids to warm water.
Back to the Berries
Once the berries start to warm and release their natural juices you can turn the heat up to about medium. Stir frequently to prevent scorching.
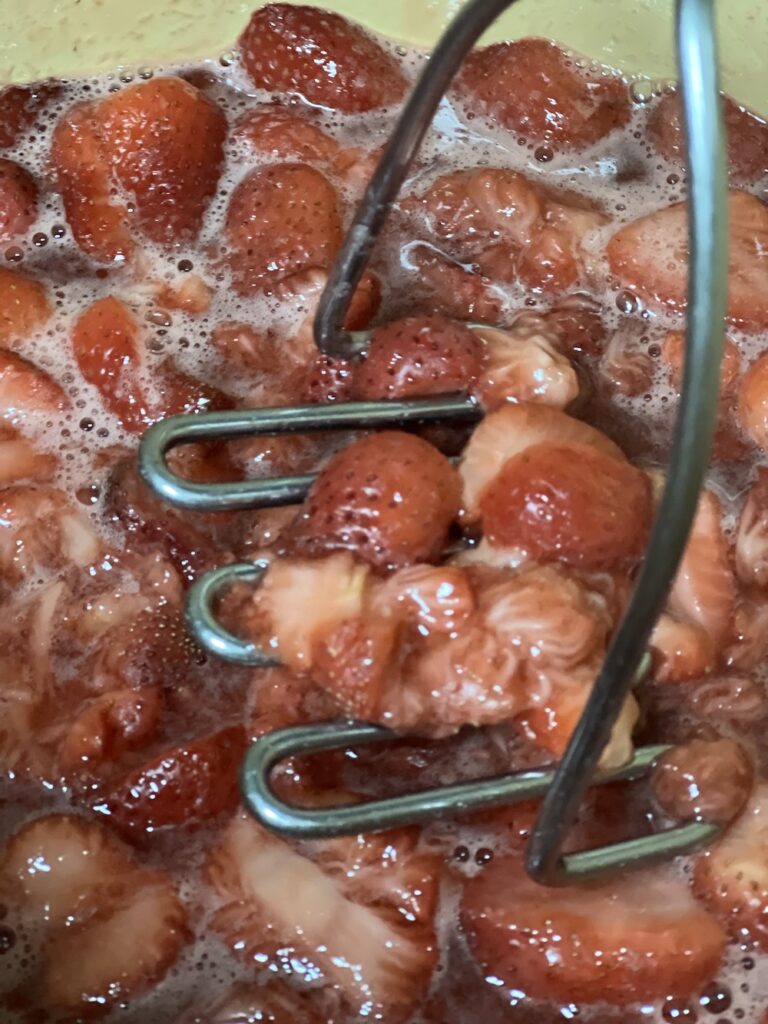
After about 20 minutes of low cooking take a potato masher and mash the strawberries to the desired consistency.
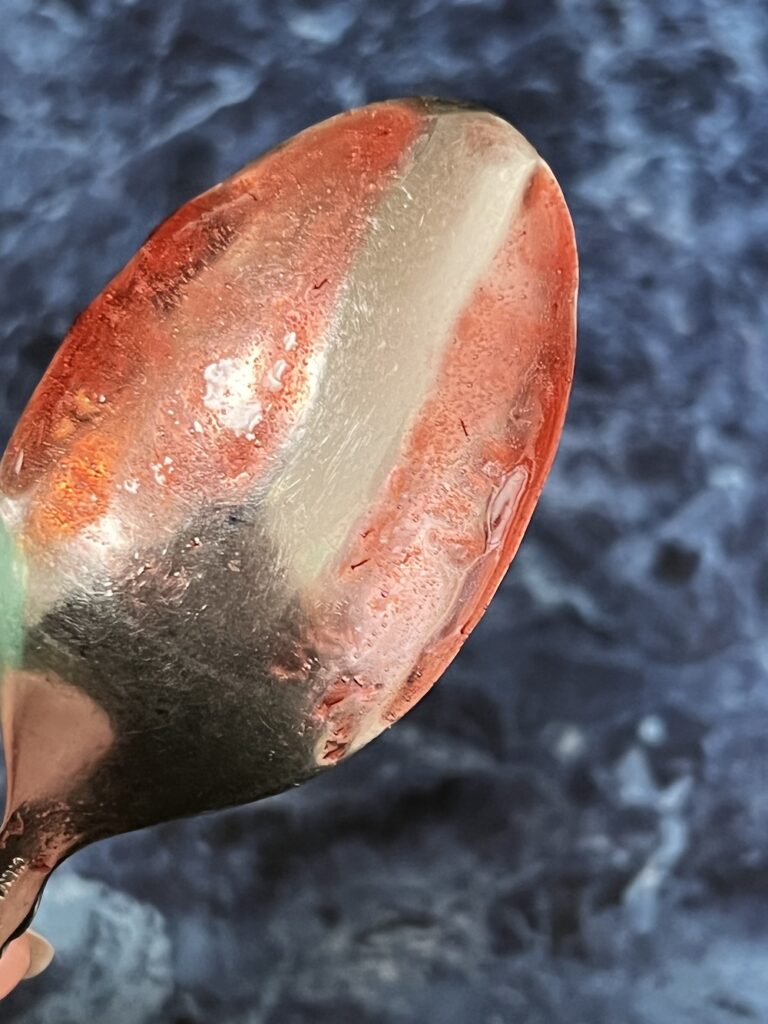
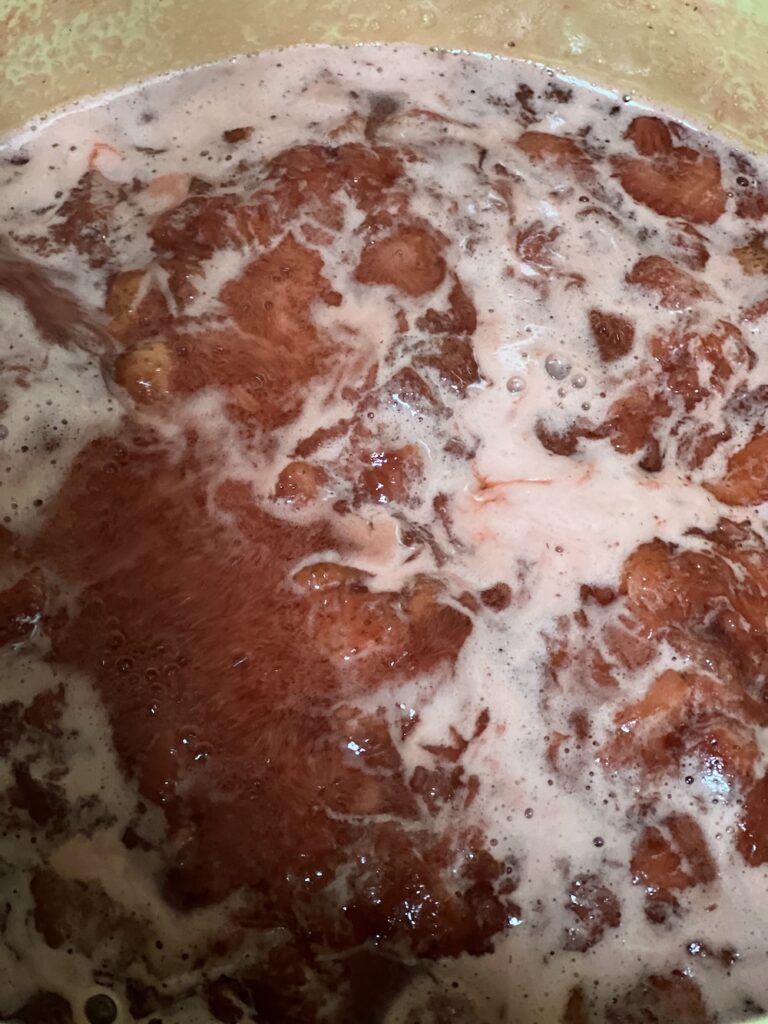
Keep stirring frequently and turn the heat up to medium high. Bring the mixture to a boil. You will boil around 20 minutes before you start to see the jam turn into gel consistency. Remember jam sets at 220 degrees Fahrenheit.
Fill Jars
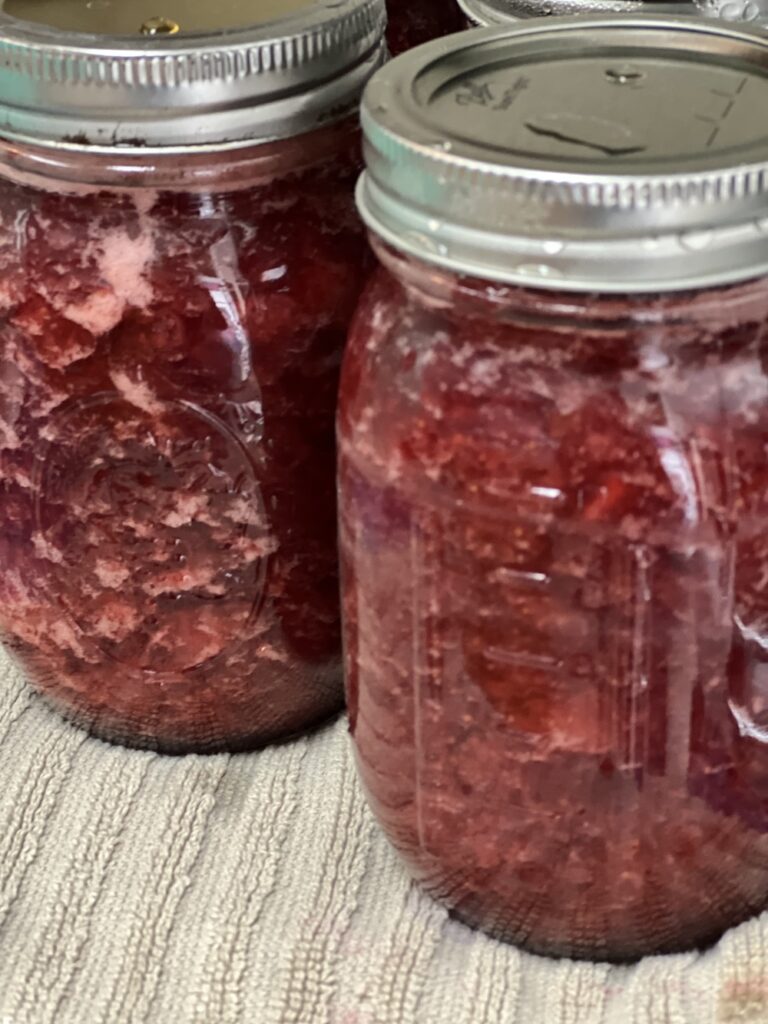
Once the jam is ready, it is time to fill the jars!
Fill warm jars with jam leaving a quarter inch headspace. Wipe rim to ensure it is clean then center lid and screw down ring to hand tight.
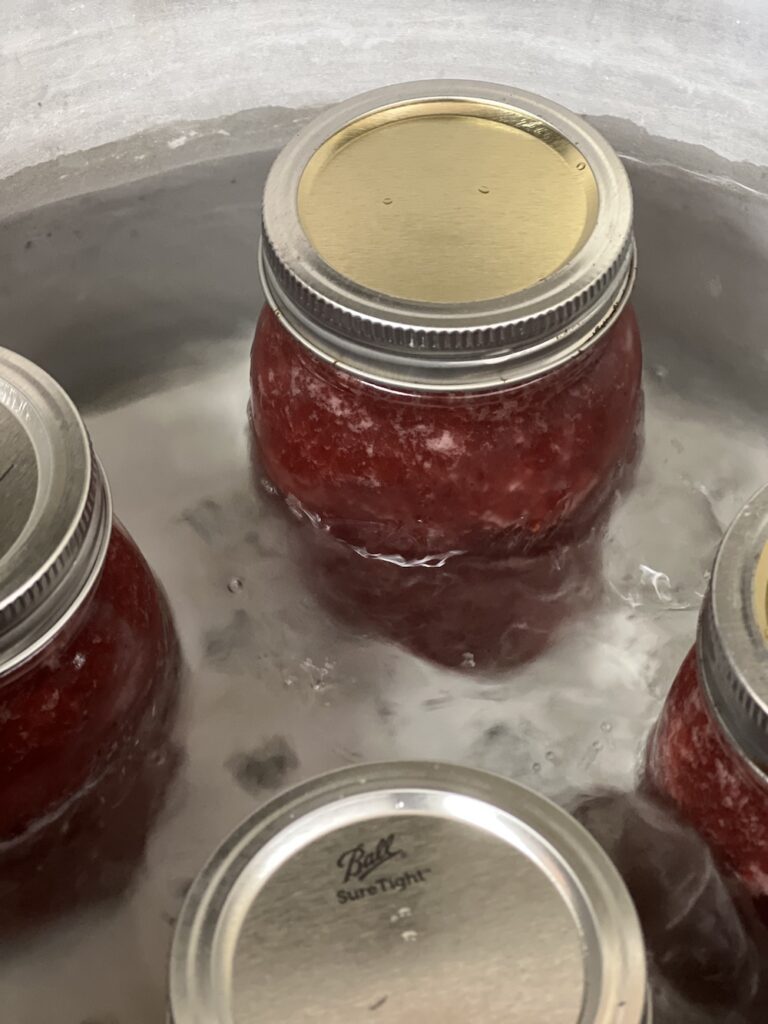
Return filled jar to water bath and bring to a boil for 5 minutes.
Remove processed jars and set on a doubled up kitchen towel to cool. You should hear the tell tell signs of sealing with a satisfying pop! Give jars up to 24 hours to seal.
What to do if your jars do not seal
If jars do not seal within 24 hours of processing, simply empty the contents of the unseals jar back into a stock pot, wash jars and get new lids. Bring all back to a boil and try again!
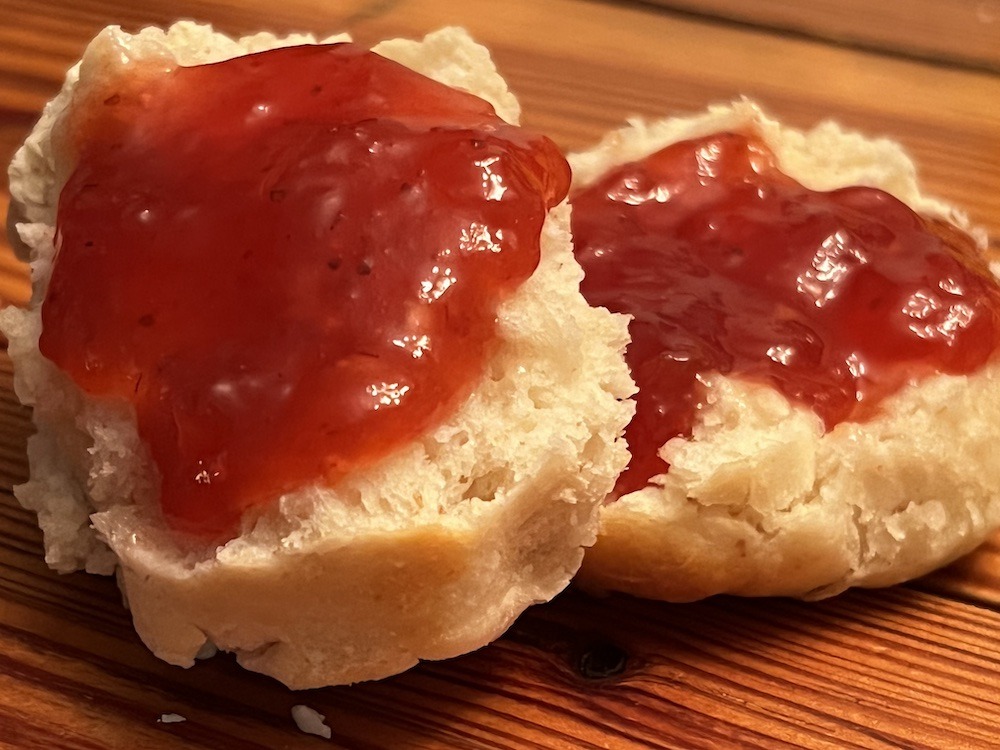
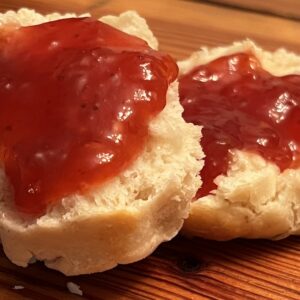
What to eat with Strawberry Jam
We love to eat our strawberry jam on our two favorite breakfast foods! Biscuits and Pancakes! Check out the recipes for how to make both plus more! It’s also great over ice cream!
- Sourdough Biscuits in the Ninja Foodi
- Sourdough Discard Pancakes
- Southern Biscuits from Scratch
- Cornbread
We hope you all love this recipe and enjoy it with your family!
Follow us on Pinterest for more great recipes, or check out what is happening on the farm at our Instagram page!
Strawberry Jam without Pectin
Equipment
- Waterbath Canner
- Large Stock Pot
Ingredients
- 5 lbs Prepared Strawberries
- 3½ Cups Granulated Sugar
- ¼ Cup Lemon Juice
Instructions
- In a large stock pot bring all ingredients up to temperature over medium low heat.
- Meanwhile prepare jars by washing jars in warm soapy water and bringing to a boil in water bath canner or large stock pot to sanitize. Leave in hot water with lids until ready to use.
- Mash strawberries with a potato masher until desired consistency is reached. Stir and increase heat to medium high.
- Stir frequently to prevent scorching. Boil mixture until it reaches 220 degrees or gel stage as determined by using the back of a frozen spoon to test.
- Ladel jam into hot jars leaving ¼ inch of headspace. Wipe down rims and center lid. Hand tighten ring and return to boiling water for 5 minutes processing time.
- Remove from water and set on a towel to cool. Check seal before storing.


6 Comments
Jaya Avendel
Yes! This is truly all one needs to make delicious jam; fruit, sugar, and lemon juice. Love the consistency you got and the detailed photos you share. 🙂
hacketthillfarm
Thank you!
Cristina Rosano
This sounds delicious! We love strawberries and jam as they scream summer all over and they are one of my sister’s favourite fruit so will have to try this!
hacketthillfarm
thanks so much! My kids have already gone through 2 jars already!
Fadima Mooneira
I love strawberries even tho I’m a fan of jams. However, this recipe sounds great. Thank you for sharing.
Jamieadstories
Nothing beats strawberries and especially when for jam.