How to Make Yogurt in the Ninja Foodi
Yogurt in the Ninja Foodi, is a simple and easy way to make delicious and nutritious yogurt at home without all the crazy ingredients that some yogurts have. It is also extremely cost effective. Today we are going to learn how to make yogurt in the Ninja Food!
What are the ingredients in yogurt?
Yogurt is nothing more than whole milk and a starter culture. That is it! You can certainly add sweeteners and other flavors, but if you are looking for just a plain yogurt that is all there is to it.
We love to add in vanilla and honey to make a simple vanilla yogurt. You could also add in macerated strawberries or blueberries if you wanted. I find that storing it in its simple vanilla form gives my house of 5 a lot of options when it comes to breakfast and snack time.
The best thing about it is you control the sweetness and additives. Oftentimes at the stores you will get yogurts that have added sweeteners, artificial flavor and coloring, and preservatives.
Is it cheaper to make yogurt at home?
I have done that math, and for me it is very cost effective to make yogurt at home. I purchase a gallon of milk for around $3. That gallon of milk can make at least 2 batches of yogurt. Each batch yielding about 48 oz of yogurt. When you compare that to the price of the cheapest plain yogurt I can grab at my local Kroger, that comes in at $2.50 for one 32 oz container, it is a no brainer.
What can be used as yogurt starter?
You can start yogurt with either a freeze dried yogurt culture purchased from someplace like Thrive Market or Cultures for Health. But I have found the easiest way is to purchase a small container of good quality plain yogurt at the store. You just have to make sure it says live, active cultures on the ingredient list. I usually get the 5 oz Kroger brand for less than $1 because it is just milk and cultures.
The key is to make sure it says live active cultures and does not contain any other preservatives.
Once you make your first batch of yogurt, you will run it through a cheesecloth and capture the whey that strains off. This whey now contains your active live cultures. I put it is a little glass mason jar with a lid and store it in my fridge until I am ready to make my next batch.
After that initial investment of $1, you can make as many batches of yogurt as you wish! I typically do about 2 batches per week for my family.
How to make yogurt at home
Yogurt can be made without the Ninja Foodi of course, but the newer Foodi models really make it easy with a yogurt button. It takes all of the guess work out of the temperature and time that is required for perfect result every time.
I have only ever had 2 batches fail. Once was because my starter had gone rancid and the other was the power went off in the middle of the cycle. I have been making yogurt at home for well over a year, so I think those are pretty good success rates.
You can also make yogurt the old fashioned way on the stove with a thermometer. I just prefer this hands off stress free method of making yogurt in the Ninja Foodi
Steps to make yogurt at home in the Ninja Foodi
The steps to make yogurt at home in the Ninja Foodi are really straight forward. You will need 2 ingredients; Whole Milk and starter culture.

Step 1
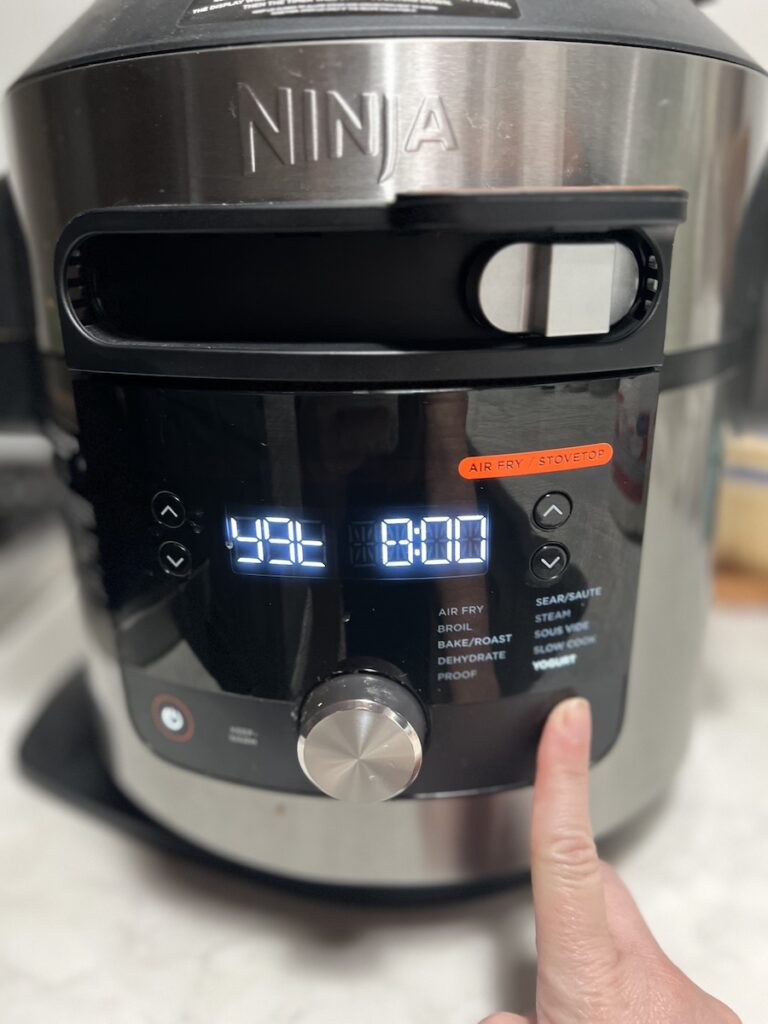
Add 8 cups of cold milk to the Ninja Foodi and close the lid. Hit the power button and then select the yogurt function. Hit Start. The display will read Boiling and then it will switch to cooling. This takes about 4 hours. Do not lift the lid or mess with anything during this time.
Step 2
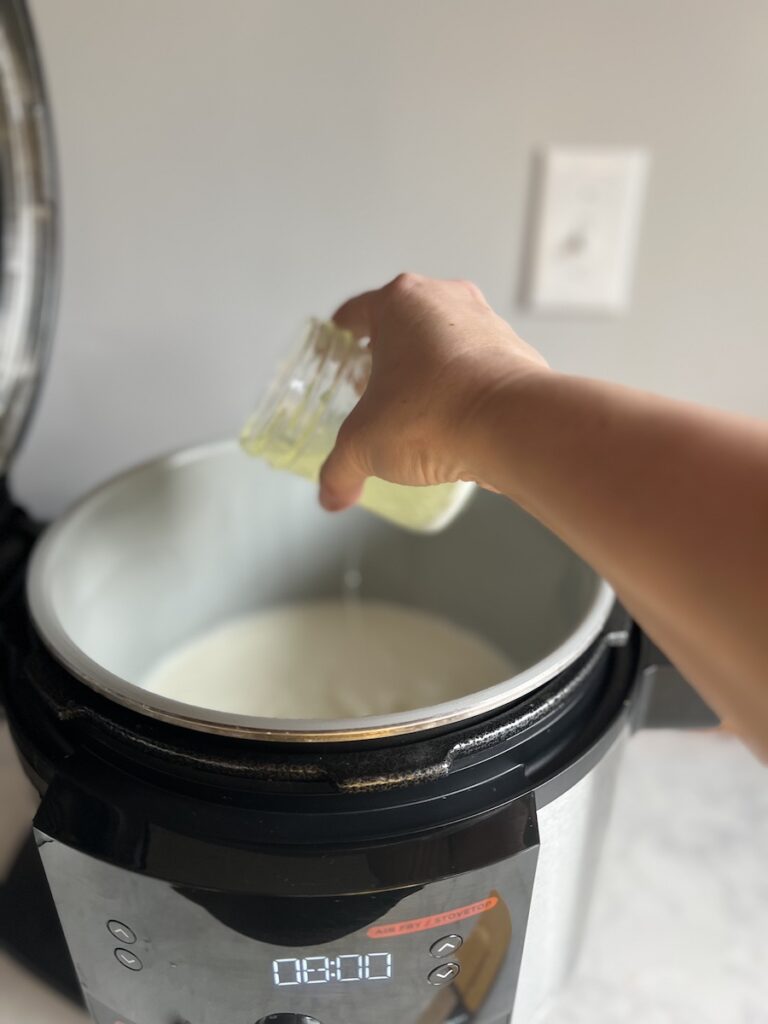
After about 4 hours, the Foodi will alert to “Stir”. At this time, you will want to add in your starter culture and stir gently. Close the lid back. A time of 8:00 will show on the screen. This is the minimum amount of time you can ferment your yogurt. If you like a tangier yogurt, ferment it for longer. Milder yogurts, keep at 8 hours. Once you have selected your time, hit start. An now you wait while the magic happens. don’t be tempted to open the lid, just let it rest and ferment.
Step 3
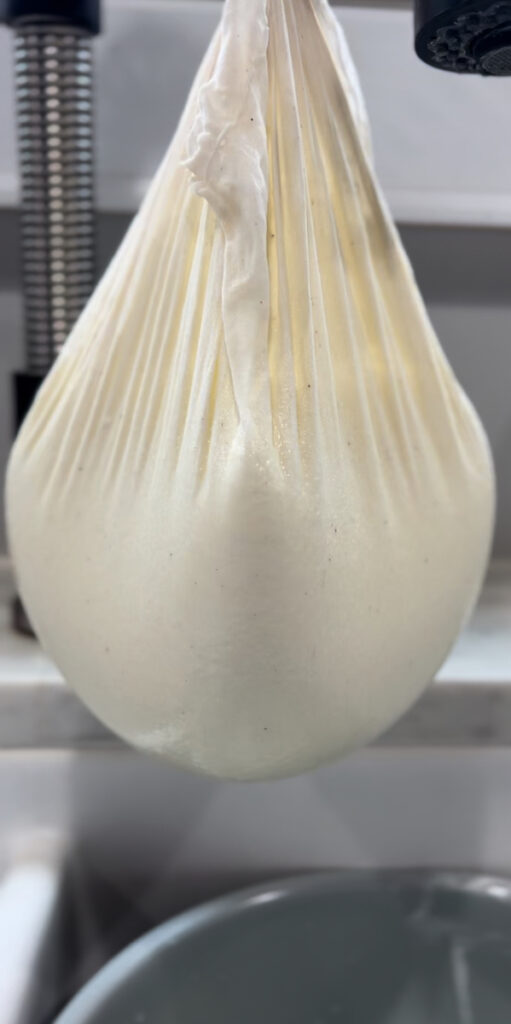
Once the fermentation time has been reached, you have yogurt. You can leave it as is for a thinner yogurt, or you can run it through a cheese cloth for a thicker greek yogurt. I highly recommend straining it because it makes for a deliciously thick yogurt.
To save money on starter cultures, I also capture the whey and save it for my next batch of yogurt. I usually only keep a pint in the fridge and switch it out every time I make yogurt so it stays fresh. The rest of the whey, I add to my chickens’ feed! It is a great protein boost for your animals!
Step 4
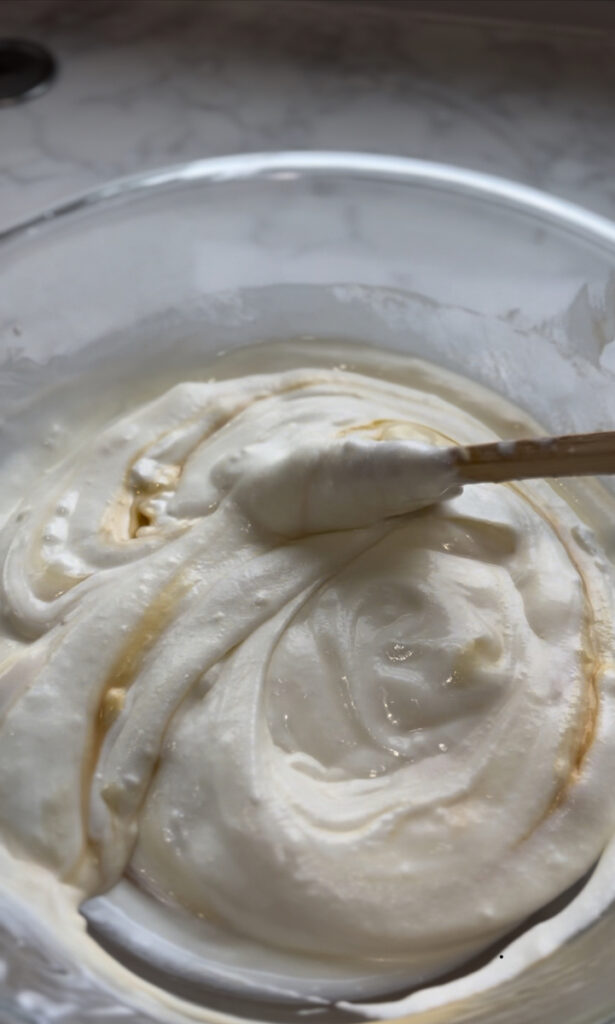
Once you have strained your yogurt, you can store as is in a Mason Jar with airtight lid, or you can add in additional flavorings. I always add about a quarter cup of honey and a teaspoon of vanilla, before pouring into my jars for storage. You can store in the fridge for up to seven days. It definitely does not last that long at our house though. We eat it for breakfast and snack so it typically is gone in about 2 days.
What to serve with yogurt
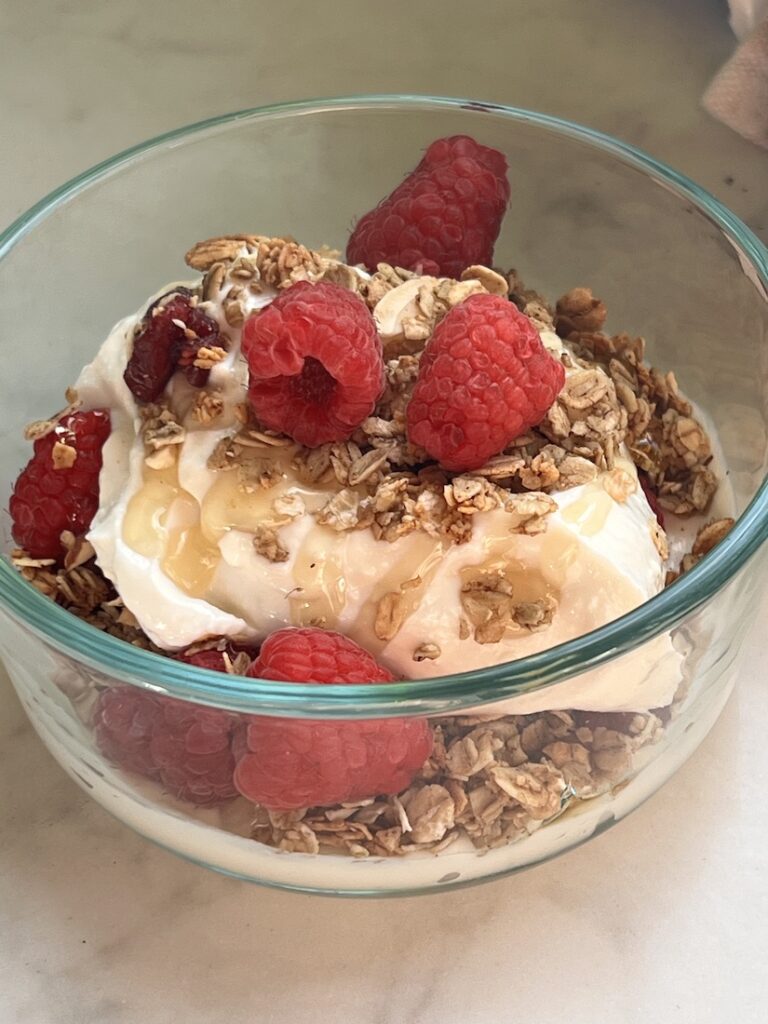
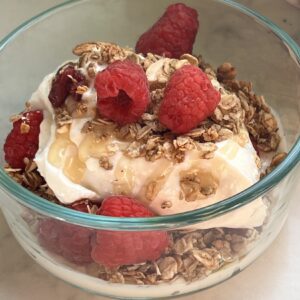
Our favorite way to eat yogurt is topped with granola, raspberries, and a drizzle of honey.
Other great toppings for yogurt are
- Blueberries
- Coconut
- Maple syrup and Pecans
- Almonds and dried cranberries
- Apple Pie Filling
- Lemon Curd
The list can go on and on!
I hope you decide to give making yogurt at home a try! If you do, I would love to hear how it went in the comments.
Yogurt In the Ninja Foodi
Equipment
- Ninja Foodi with Yogurt Function
Ingredients
- 8 Cups Whole Milk
- ¼ Cup Yogurt Whey or Starter Culture
Instructions
- Add 8 cups of milk to the Ninja Foodi, close lid, and select Yogurt function and start
- When the Foodi says "add and stir" add in whey and stir. Close lid back and hit start to begin ferment process for 8 hours
- After fermentation process, pour the yogurt into a cheesecloth and strain off the whey. Once the desired consistency is reached, pour into Mason Jar or add in desired stir ins like vanilla and honey.

You May Also Like
How to Make Sourdough Discard Biscuits (Ninja Foodi)
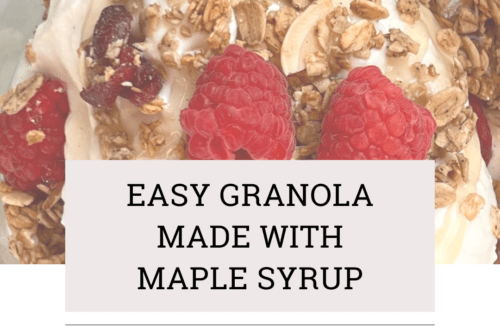
Easy Granola Made With Maple Syrup