How to Can Deer Meat- Easy Recipe
Fall is the time of year when we start to see our pantry and freezer really stock up. One of my favorite additions is venison. But freezer space is often a hot commodity, so making this meal shelf stable is essential. Learn how to can deer meat with our easy recipe today!

Canning deer meat is perhaps one of the most delicious and versatile ways to prepare venison.
The canning process produces a tender bite of meat that is slightly less gamey than other preparations. It can be used in everything from soups to deer barbeque. Canning deer meat in the pressure canner breaks down the muscles and silver skin that are typically a little tough due to their leanness and makes them soft and melt in your mouth.
It is also a great way to use up those often discarded deer pieces like neck meat and heart!
How I Started Canning Deer Meat
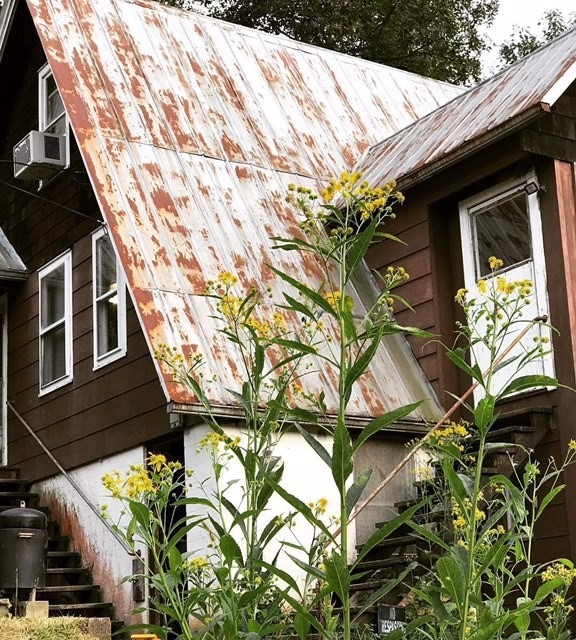
My husband and I met around seven years ago now, and one of the first trips we took was to the hunting camp in Ritchie County, West Virginia.
This little camp has since held a very dear place in my heart. It is perhaps one of my favorite places in the whole world.
It is a place where simpler times are easy to replicate. There is no cell phone service, plenty of trails to explore, and a small river to catch crawdads in. Nights are filled with bonfires and music and days are filled with exploring and hunting.
This is also the place that I first discovered the ability to preserve your hunt through canning.
I still remember my husband’s uncle opening a mason jar of canned squirrel and frying it up like chicken nuggets. It was delicious, and slightly weird. I had grown up in a family of hunters and had eaten wild game made in various ways, but I had never had it canned!
That same year my now husband, then boyfriend, introduced me to canned venison. The thought of it was so strange to me at first, but after having it I was sold.
The process of canning made the meat tender and removed some of the gamey flavor that many do not like about wild game. It also made it easy to store. We processed over seven deer that year, and majority of it was put into mason jars and canned.
How to Serve Canned Deer Meat
Canning deer meat is not only delicious, but it saves so much freezer space! This also reduces your chances of loosing all of your meat in the event of an extended power outage or some other home catastrophe.
Canned deer meat also makes a super quick week night meal.
No need to thaw, just pop the seal and dump! Add it to a crockpot full of vegetable like potatoes, corn, and carrots along with beef broth or canned tomatoes and you have the beginnings of a yummy soup. One of my favorite soups is Refrigerator Soup. Not only is this canned venison a great addition, but this soup also uses up all those leftovers in the fridge!
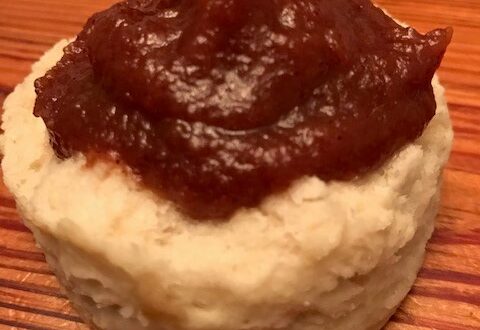
You can also create a gravy with butter, flour, and milk then add in the canned deer meat. Serve this delicious concoction over biscuits or toast. If you are looking for a great biscuit recipe, try our Southern Biscuits. They are soft, fluffy, and so so delicious with this deer gravy! We include a video tutorial so you can watch these lovelies being made.
Then there is the always delicious deer-b-que. Mix canned meat with your favorite barbeque sauce in a crock pot over low heat and serve on rolls.
Canned Deer Meat Step By Step
So just how do you actually can deer meat? Well let me tell you, it is so stinking easy.
Step One
First you want to ensure your deer meat is cleaned. We typically let our meat set on ice for a couple of days before processing. This helps to drain out some of the blood and aids in removing the gamey taste for those pieces you won’t be canning.
You do not have to remove the silver skin because the pressure cooking will break it down, but you do have to remove any hair or large pieces of sinew.
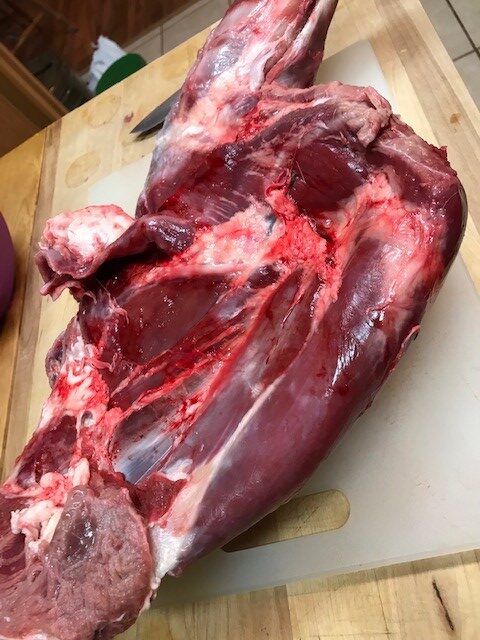
I find that it is easiest to work in batches. I first remove all the meat from the bone. This makes it a little more manageable in our small kitchen space. Once the meat has been removed from the bone you want to make sure that all hair and blood clots are removed.
Blood clots are those super dark almost black blood spots. They are not delicious, so remove those by using the side of your knife blade or a paper towel.
Step Two
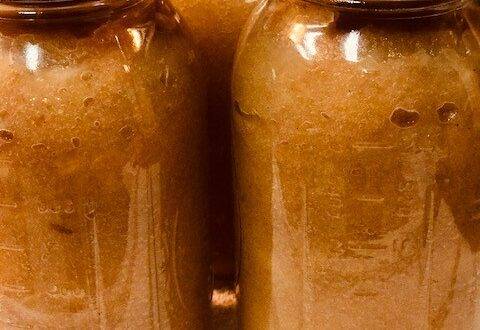
Once the meat is cleaned, it is time to start cutting it into chunks. I like to cut mine into about 1 inch squares. I place the cut meat into a large bowl until I have processed about 20 pounds of meat, which will make approximately seven quart jars.
Step Three
Once I get the meat cut, it is time to get the jars and canner ready.
Wash your jars and lids with warm soapy water and rinse well. Since we are using the pressure cooker there is no need to sterilize your jars first.
Simmer your lids in warm water while you move on to step four.

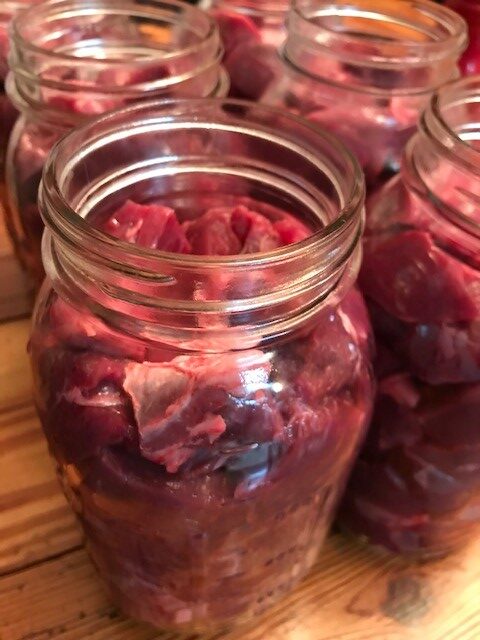
Step Four
Fill jars with meat up to the neck of the jar leaving about 1/2 inch of head space. I pack the meat slightly, but not too tight, with the handle of a wooded spoon.
Add about 1 tablespoon of salt and wipe down the rims. It is important to ensure that the rims are clean so you get a good seal from your lid.
Center the lid and tighten the ring down.
Place in pressure canner and fill canner up with water to the neck of the jars and turn heat on to medium high to bring the water up to temperature. Place the lid on and secure tightly according to the manufactures directions.
Once at pressure (10PSI) maintain for 90 minutes (note, it is very important to understand your altitude and adjust time accordingly). Once complete, allow pressure to release naturally.
Remove jars and allow to sit for 24 hours and ensure the lids seal before storing.
Canning Tools to Make Canning Deer Meat Easy!
There are some tools that are needed to can deer meat and to make it easy and stress free.
Pressure Canner
Pressure canners are not pressure cookers, so make sure to use the right tool for safe canning! We love our pressure canner because it has easy crank wing nuts to secure the lid and the gauge is easy to read.
Canning Hand Tools
Handtools are essential for easy and safe canning. We use our jar lifter most often, but the magnetic lid lifter is also pretty handy!
Happy Hunting!
Hunting is an essential part of homestead and sustainable living. We hope that you have a successful hunting year and give canning your game a try!
If you enjoyed this post or want to learn more about Preserving check out some of our other favorite canning and preserving posts!
- How to Can Green Beans
- 5 Canning Tips To Make Life Easier
- Preparing for Winter on the Homestead- Dehydrating Food
Follow us on Instagram and Pinterest for more post like this and to keep us with all the cool things happening at the farm!
What is your favorite way to preserve your wild game? Leave us a comment below to let us know!

You May Also Like
How to Render Pork Fat for Lard- Ninja Foodi Version
Simple Apple Sauce Recipe