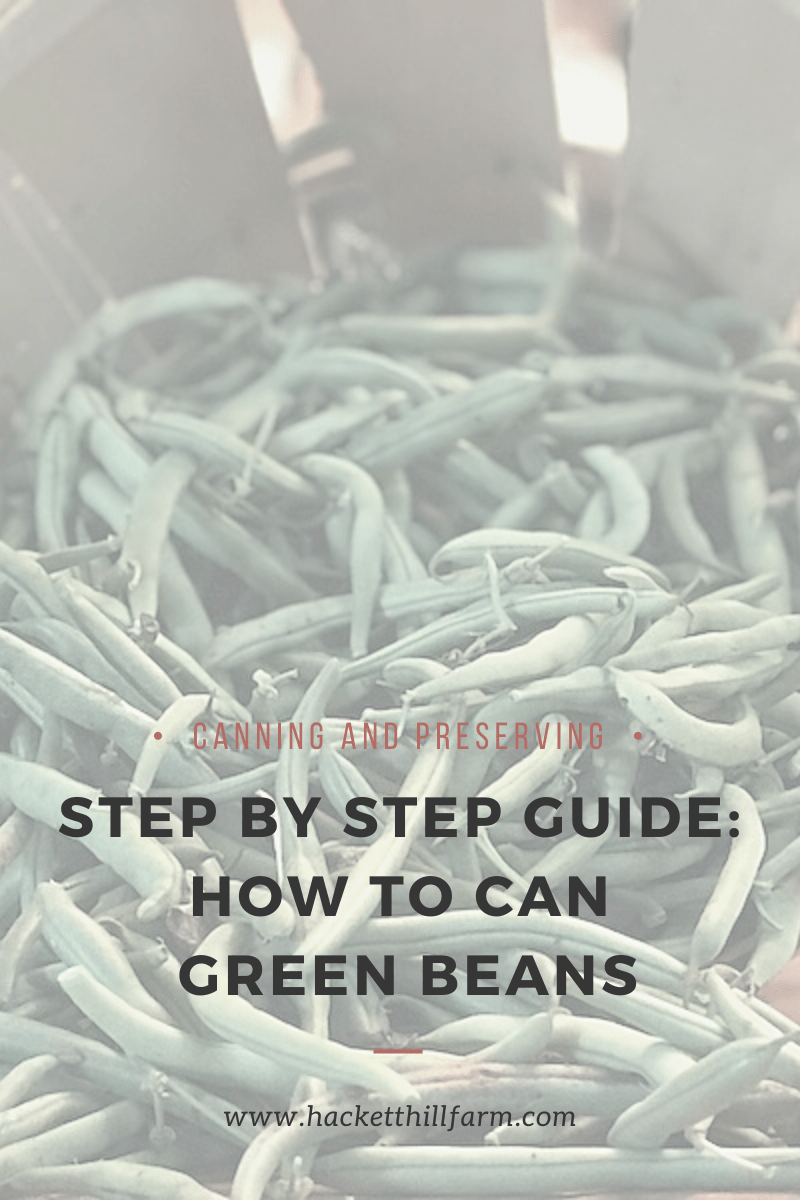
Easy How to Can Green Beans
It is that time of year!!! Canning season! Canning season is such a fun time of year, even if it is a lot of work. It brings back so many fond memories of my childhood. One of my favorite things to can, are green beans. Is it hard to can green beans you ask? No way!! It is so so simple and I am here to tell you how!
I get it, canning can be intimidating, especially when a pressure cooker gets involved. However, canning is truly so easy that within a few easy steps, you can be canning like a pro in no time! In this post I will walk you through a step by step how to can green beans.
Memories
One of my fondest memories of my grandma is us sitting on her front porch swing with a bushel of green beans in front of us snapping the day away. I can still hear her singing “Shoo Fly Don’t Bother Me” and “Jimmy Crack Corn” as we worked. She would let me and my cousin talk her ear off even if what we had to say wasn’t important to anyone but us. It was an all day affair that I will always hold close to my heart as some of my favorite times with my grandma.
Now that I have kids of my own, I want them to have those same kinds of experiences and I hope they cherish them as much as I do. So we garden together and we can together. It is important to me that my children learn how to be self reliant and understand how to can and preserve. I fear canning and preserving may become a lost art if we don’t bring our children along and show them how rewarding and enjoyable preserving can be.
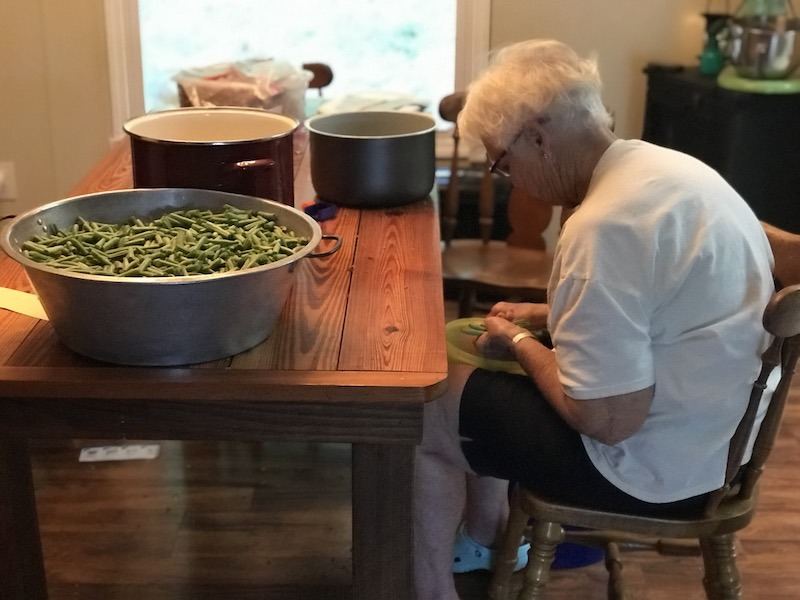
This year we were blessed to can over 85 quarts of green beans from our little patch! My daughter and I spent the day picking and snapping while my husband and his grandmother manned the canners. In between picking I would help pack jars and sit across from them snapping beans and chatting. It was so wonderful to have his grandma there working beside us making memories just like my grandma had.
Now let’s get into the step by step!! Don’t be scared, I know you can do it! Are you ready?

How to Can Green Beans
Step 1- Gather Supplies and Prep Your Beans
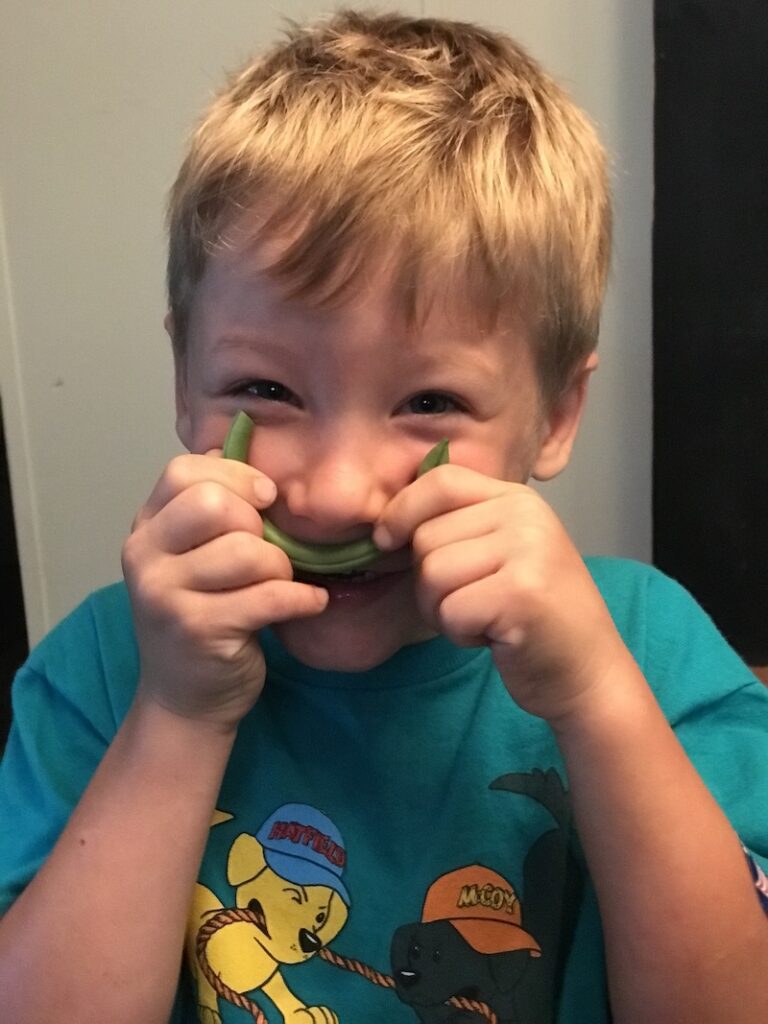
Gathering your supplies before hand is a big time saver and can help prevent those unwanted “oh no!” moments when you realize you do not have enough jars for the amount of green beans you have. You also want to make sure you have your beans prepped before you get started to save on time and stress when you are in the moment canning. This is the most fun part, in my opinion, because I love snapping beans. It is so relaxing and a great time to bond with those you love. As my momma used to say, you can turn any chore into a game if you just have the right mindset.
I start with about a half bushel of beans. For reference, a half bushel is approximately equal to a five gallon bucket and will yield about 7 to 10 quarts. This year we ended up at about 10 quarts a half bushel, but it really depends on the beans and how tightly you pack your jars.
So what are the best beans to use? There is no right or wrong here, it is all about personal preference. This year we grew Bush Blue Lake and they turned out great! I prefer a stringless variety though, it saves on time when processing.
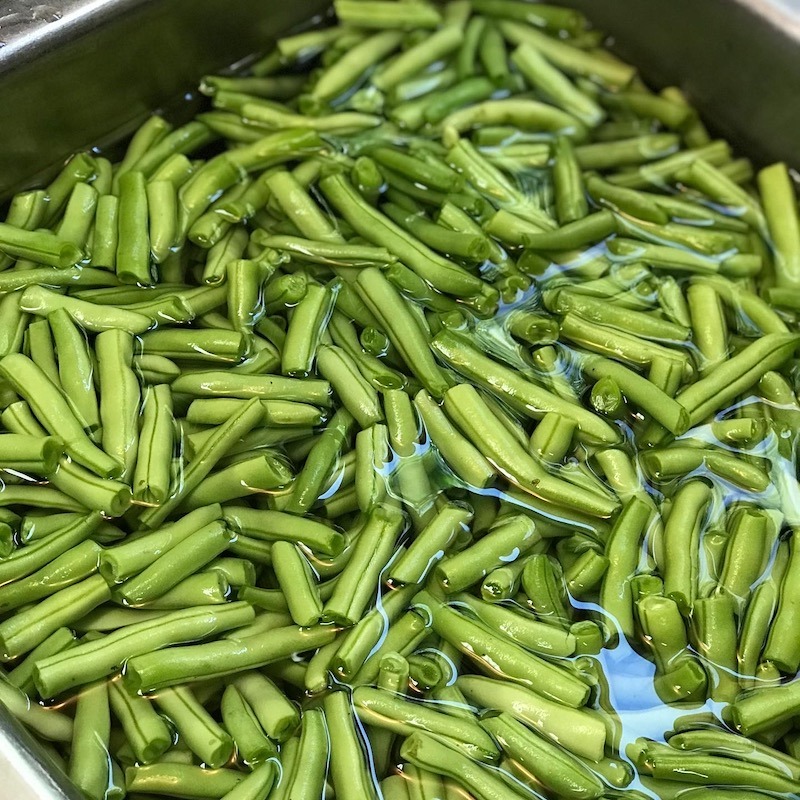
After we snap our beans, we wash them in a sink full of water to get off any debris or sediment that may be on them. We discard our tips to the chickens for a yummy treat.
You will also need to sterilize your jars. The only sure fire way to ensure proper sterilization of jars is to boil them in a hot water canner for 10 minutes. I will be honest and say that I have used the dishwasher in the past set on hot rinse and hot dry, but that is just because my momma always did that. If you read any canning books, they will tell you that boiling water for a minimum of 10 is the only way to truly sterilize your jars.
After you have your beans snapped and cleaned and your jars sterilized you will want to prep your lids in a simmering pot of water. I do no more than seven at a time because that is what my canner can hold. You will simmer them for about three to five minutes.
Step 2- Pack Your Jars
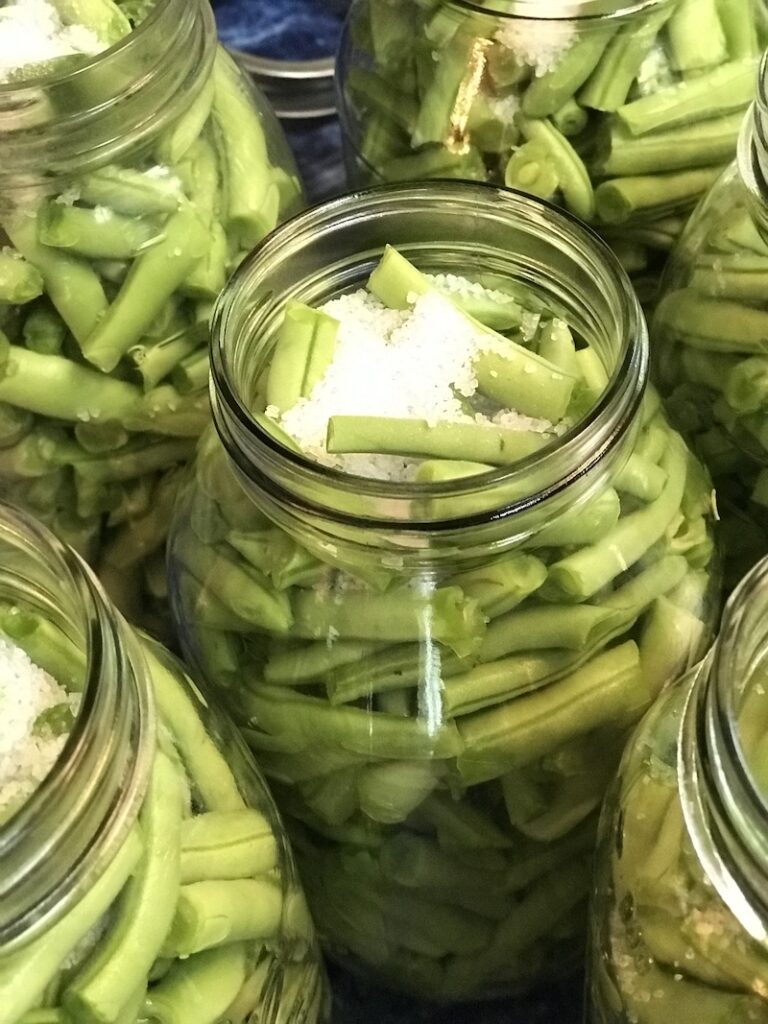
Once your jars are sterilized, you are ready to start packing them. You will want to get a towel or two ready because you will use those as a cushion for when you pack the jars down. Carefully remove a jar from the hot canner and pack your beans in. After every handful of beans, gently tap the jar on your towel lined counter. Push the beans down tightly with your fingers or a soft spatula to make sure your beans are packed well. Then top with a teaspoon of kosher salt and fill with hot water. You will need to leave 1 inch of headspace.
Whoa whoa whoa…. What the heck is headspace???? Isn’t that like an app or something? Headspace, when talking about canning, is the space between the lid of the jar and the food itself. It is important to make sure you leave the appropriate amount of headspace as it ensures your food seals properly and will not discolor. See simple!
Once your jar is filled, wipe the rim and center one of the warmed lids before tightening a ring down around it and returning it to the canner. Repeat until all your jars are filled and in the canner.
Step 3- Time to Can Green Beans!
Now that you have all your jars into your canner you will follow your manufactures instructions on proper sealing. Bring the canner up to temperature and add your weight (10 lb. weight for 20 minutes). You will know your canner is ready to have the weight added when you see steam coming out of it.
Once the 20 minutes is up, turn off the temperature and let the canner naturally depressurize. Make sure the pressure is at ZERO before you attempt to open the canner. No-one wants to have green beans exploded all over their ceiling. My cousin did that once and it was not a good look!
Step 4- Wait
Once your pressure has returned to zero it is time to remove the jars and start on the next batch if you are lucky enough to have a bunch of beans. This year we had two canners going and could have done with a third to get those eighty plus quarts processed, but it was still a pretty good system with the two.
Once removed you need to allow them to sit and finish the cooling process. Once cooled test to ensure that all jars have sealed by turning them over once and checking the press button in the center of the lid. If it pops up and down, it is not sealed. It can take up to 24 hours for the jars to seal so give it some time. If after 48 hours it is still not sealed, eat or reprocess.
There is no better music to my ears than the sound of jars sealing after a long day of canning.

Canning is such a rewarding and fun process that I hope you try! Are you a long time canner or a first time beginner? We would love to hear from you in the comments below!
We invite you to check out some of our other favorite canning and preserving recipes like Canned Deer Meat or Applebutter! You can also follow us on Pinterest and Instagram for more great canning and preserving ideas.


14 Comments
Sarah
Wow, that’s amazing- so many green beans! I love your story about your grandma too, so sweet. I have never canned before myself, but it’s something I’d like to try one day!
hacketthillfarm
Grandma’s are wonderful :). I hope you do try it!! If you ever need any tips just reach out, I am always happy to help!
Michelle
I love green beans and while I have made pickled green beans before (water bath process) I have never actually just canned green beans. I loved the explanation of the process although I have never done anything in a pressure canner before and the idea kind of scares me (the exploding part!). Do you find that using a pressure canner keeps the beans crispy?
hacketthillfarm
Don’t be scared 🙂 Pressure canning can certainly be a little daunting, but it is well worth the try. Some people will do their pressure cooking outside on a burner to relieve some of the stress. We did dilly beans this year as well (a first for me). We have really enjoyed them. As far as keeping the beans crispy, the beans do lose a bit of the crispness just like they would during any cook down process. To maintain the optimum crispness of your green beans I would recommend a quick 30 second blanch, dry, and food save them for the freezer. If you are looking for a more traditional canned green bean and don’t have a ton of freezer space (ours is full of venison, beef, and chicken) canning is the way to go. I hope this helps!
Engie Leigh
What a cool story! We used to do this when I was a kid!
hacketthillfarm
Thank so much! It certainly is a memory that sticks with you
Donna
What a great family tradition to keep going, and such wonderful memories. Canning is something I watched my mum do a handful of times, but have never done myself.
I live on a few acres and dream of one day growing enough to be able to preserve the left overs.
Thank you for sharing such great traditions.
hacketthillfarm
The great thing about canning is that you don’t have to have a ton of food to do it! We can a lot in small batches, especially when it comes to pickling and jelly. It’s a great way to use up just that last little bit that may be about to spoil but hasn’t yet. Start with a waterbath process and go from there. Maybe visit a local blueberry farm and make preserves from what you find. If you ever need any tips, don’t hesitate to reach out!
Kristina Rae
I absolutely love canning and it definitely supplies memories that cannot be replaced or duplicated. You’re right – it definitely could become a lost art of homesteading so way to keep the tradition alive. Great tips for first time canners.
hacketthillfarm
Thank you so much!
Elle
Wow this sounds amazing and really interesting! I absolutely love your story about your grandma, so sweet. Thank you for sharing Xo
Elle – ellegracedeveson.com
hacketthillfarm
Thank you so much! Grandma’s are the best 🙂
Jill
I planned on canning this year and my beans were all taken over by the deer. We ended up having to build a bigger barrier around them but it was too late because of the sassy deer. I look forward to trying this next year.
hacketthillfarm
We had that same issue with our corn. Luckily the corn deterred them enough to allow our beans to be productive. Next year the fence is going up for sure! Fingers crossed that your crop does better next year!