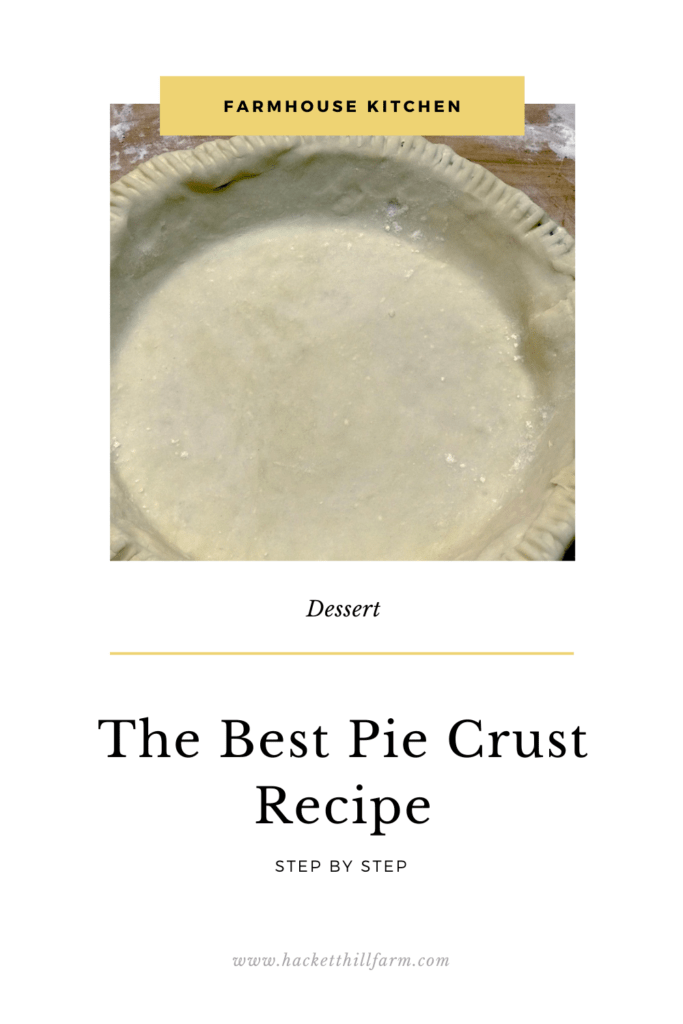
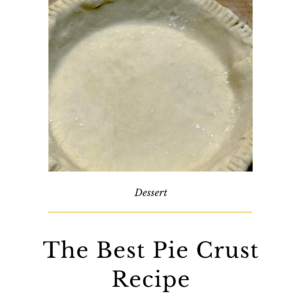
The Best Pie Crust Recipe (Step by Step Guide)
This step by step guide will teach you everything you need to know to make the perfect pie crust every time. In this guide we will talk about what makes the best pie crust recipe and break the recipe down into a step by step process that will up your pie crust making game in time for the holidays. Your family will be asking how you do it!
Pie crusts are the underrated heroes of holiday desserts. Without a great crust, you can never have a great pie! Pie is so much more than the filling, it is a textural combination of a delicious filling and flaky buttery crust.
No matter what your filling, this step by step pie crust recipe will be your go to for all your holiday desserts.
What Qualities Make the Best Pie Crust?
There are a few qualities a great pie crust should possess. The first of which has to do with the look of the crust. The pie crust should be evenly browned moving towards golden at the edges. The texture of the crust should be tender and flaky but strong enough to stand up to the filling you are putting in it.
While texture and looks are important in making an great pie crust, taste is the number one factor in determining if a pie crust is the best. Pie crusts should have a melt in your mouth buttery taste that elevates the filling to the next level!
Is Butter or Shortening Best for Pie Crust?
When considering the ingredients of your pie crust, the most important is the fat to use when making it. Fat will not only determine the taste of your pie crust, but also the texture. Let’s discuss the pros and cons of these two common pie crust fats.
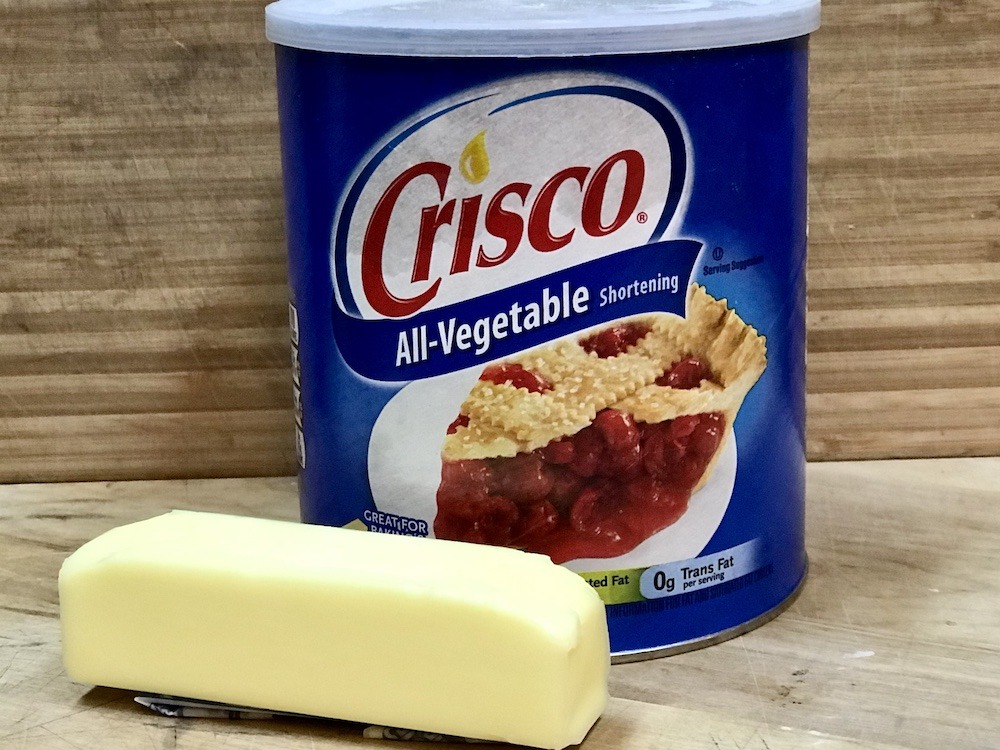
Shortening/Lard
Shortening is a common option for pie crust as it is easy to work with due to its high melting point. Given this high melting point, dough made with shortening also hold its shape much better than any other fat type. Working with shortening certainly makes for a less finicky pie crust than butter, but flavor wise it is sub par. The dough also tends to be denser and less flaky than its milk based counterpart.
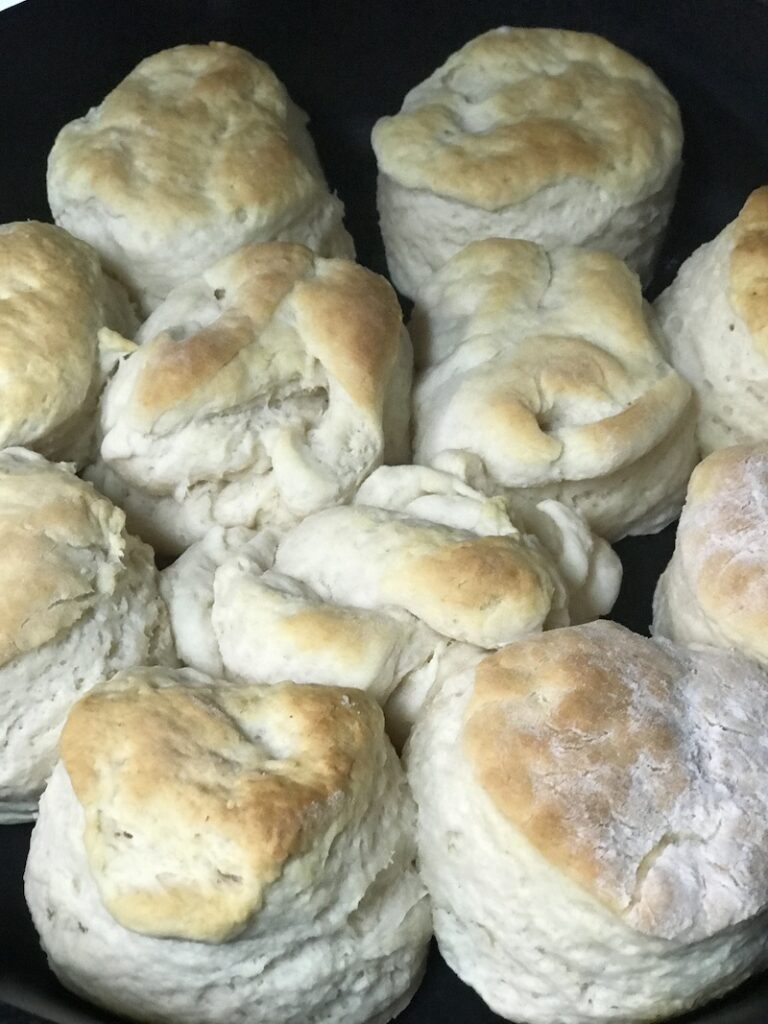
In our opinion, shortening is better in our Southern Biscuits than in a pie crust.
Butter
Butter is my number one choice for pie crust fat due to the flavor it imparts. Butter hands down makes the tastiest pie crust that is flaky and lofty. However, while butter is the tastiest choice, it is a little persnickety to handle due to its low melting point. Making sure to keep the dough at the right temperature will make handling a lot easier. So be patient and give your dough plenty of time to chill out.
Is Milk or Water Better to Use in Pie Crust?
Fat is where it’s at when it comes to pie crusts! Again fat not only affects the flavor of your crust, but also the texture. More fat makes for a more tender delicious crust.
Milk is one way to help increase fat content in the pie crust helping it to be more tender and flavorful. Add a teaspoon of apple cider vinegar to your milk to make a “buttermilk” which will also increase how tender your crust is. I promise, the crust will not taste like vinegar, but will benefit from its tenderizing quality.
Steps You Shouldn’t Overlook
Chill your dough and let it rest
It can be tempting to rush through the pie crust making process when you are in a hurry, but refrain and plan when possible! A well rested and chilled pie crust dough makes the best pie crusts. So plan ahead and make your pie crust dough at a minimum the day before you plan to bake your delicious pies.
Make Ahead and Save On Stress
Pie crusts will last up to five days in the fridge and even longer in the freezer! Making pie crusts ahead, especially in the holiday season, is a huge time saver.
To freeze pie crusts:
- Roll out the dough and pre-shape into your pie pans (we recommend disposable pie pans so you can keep on baking and don’t feel bad about leaving it at the party!)
- Stack pie pans with parchment in between to prevent sticking
- Wrap with plastic wrap or place in a freezer bag and freeze
- When you are ready to use, remove and thaw slightly before baking
Or!
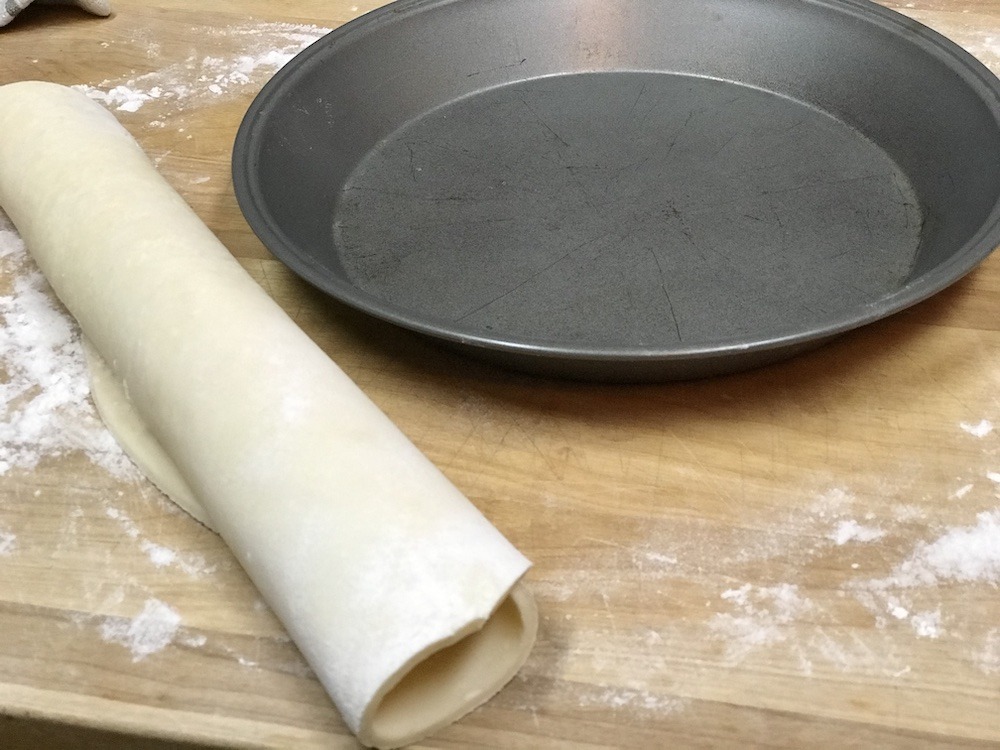
- Roll dough out and pre shape
- Place a piece of parchment on top of the dough
- Starting at one end, roll the dough carefully into a cylinder
- Wrap rolled dough in plastic wrap and freeze.
- To use, remove and allow to thaw slightly until easy to handle, then shape into pan and bake
This method saves on space in the freezer, but does take a couple extra steps before ready to use.
Fully Incorporate Butter and Four
The number one cause of a tough crust is overworking the dough. The best way to avoid this is to make sure that your butter is fully incorporated into the flour before adding your liquid. The mixture should resemble course meal and the butter should not be easily distinguishable. This will ensure your flour is fully coated in fat and will slow down the formation of gluten which causes those tough crusts.
Ingredients Needed for the Best Pie Crust
We have broken down most of the ingredients already, but let’s get it all in one place for you!
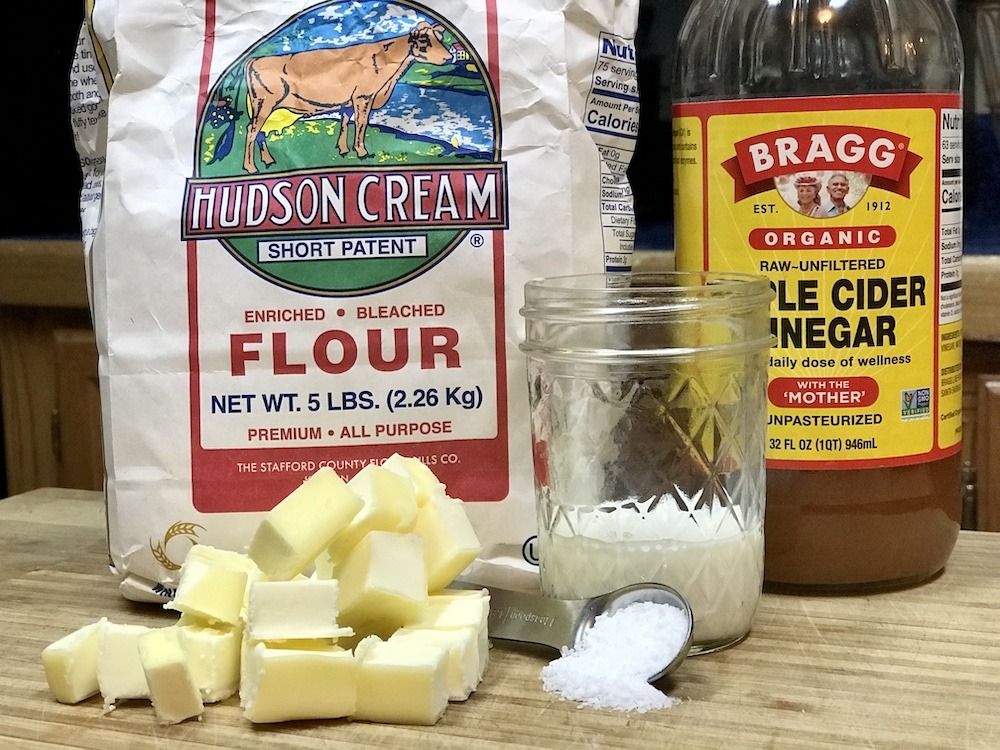
- All Purpose Flour (Pastry flour is best, but ya’ll know my stance on buying ingredients that I will only use in one dish)
- Cold Butter
- Salt
- Milk
- Apple Cider Vinegar
That’s it! Just five simple ingredients to make the best pie crust!
Now that you have the ingredients you need for the best pie crust, let’s talk about the tools you need to make it come to life.
What Kitchen Tools are Needed To Make the Best Pie Crust?
You really don’t need much when it comes to making pie crusts, but there are a few tools that can make it much easier.
- A good bowl to mix it all in if you are going the old fashioned method with the pastry blender
- Measuring cups (accurate measurements are a must in baking)
- Food Processor or pastry cutter– I prefer using a food processor because it perfectly incorporates flour and butter every time. A pastry cutter takes a little longer, but will do the trick as well. Also if you use a food processor, you can skip the bowl and do everything right in the processor bowl!
Step By Step Guide to the Best Pie Crust
This step by step guide is for one single pie crust. Simply double the recipe for 2 crust pies. Easy peasy!
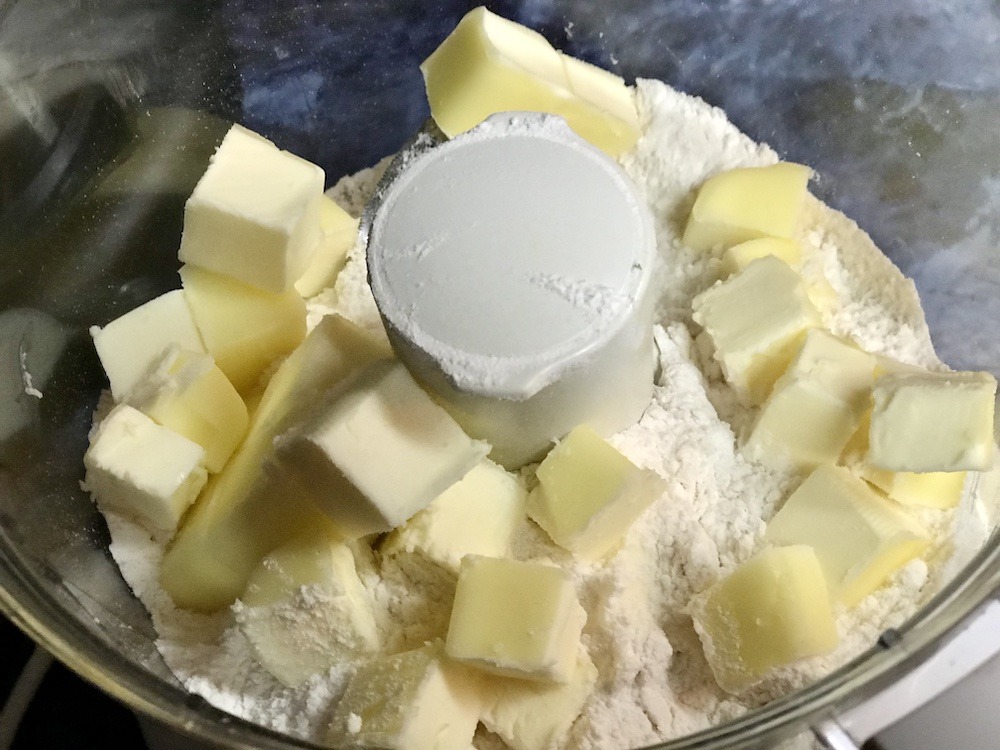
Step 1
Cube cold butter and add to flour in mixing bowl or food processor bowl. Ensure butter is completely cold!
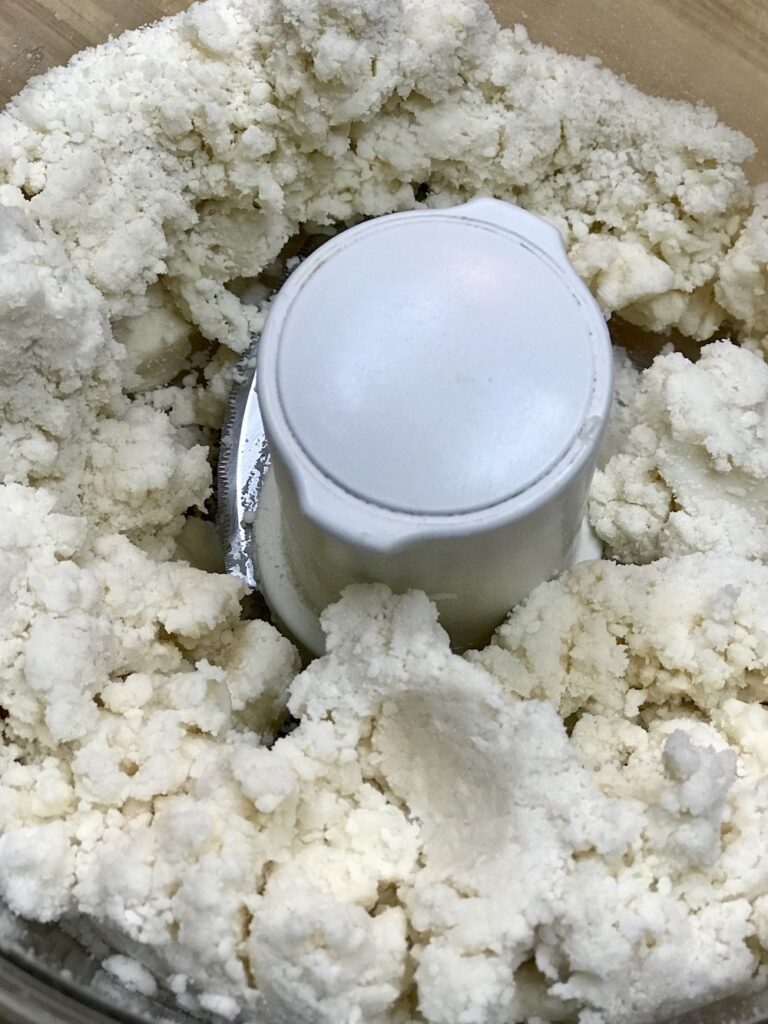
Step 2
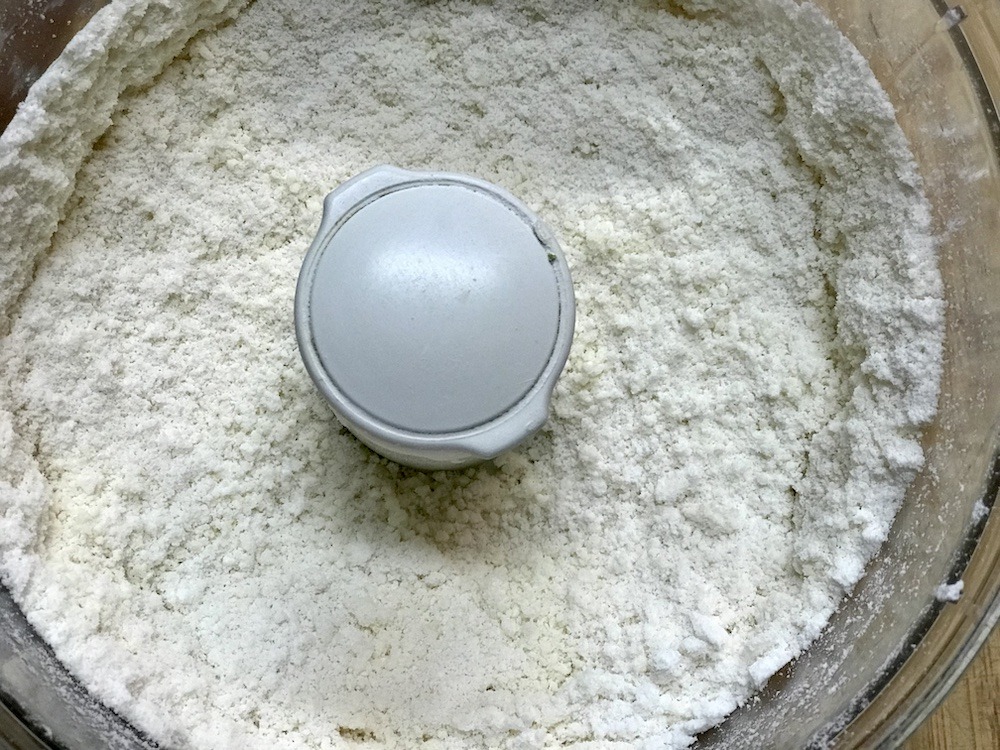
Pulse food processor until mixture looks like course meal and butter flecks can no longer be seen. If using a pastry blender, this process may take significantly longer. Keep at it and be patient! Make sure the butter and flour are fully integrated before moving to the next step.

Step 3
Place bowl in fridge for one hour minimum. This allows the butter to firm back up before moving on to the next step.
Step 4
In a small bowl, measure out cold milk and vinegar and stir. Add to the flour mixture. If using a food processor, pulse until the dough pulls together. If you are using the pastry cutter method, use a fork to fully incorporate the liquid and flour mixtures. Be careful not to overwork.
Step 5
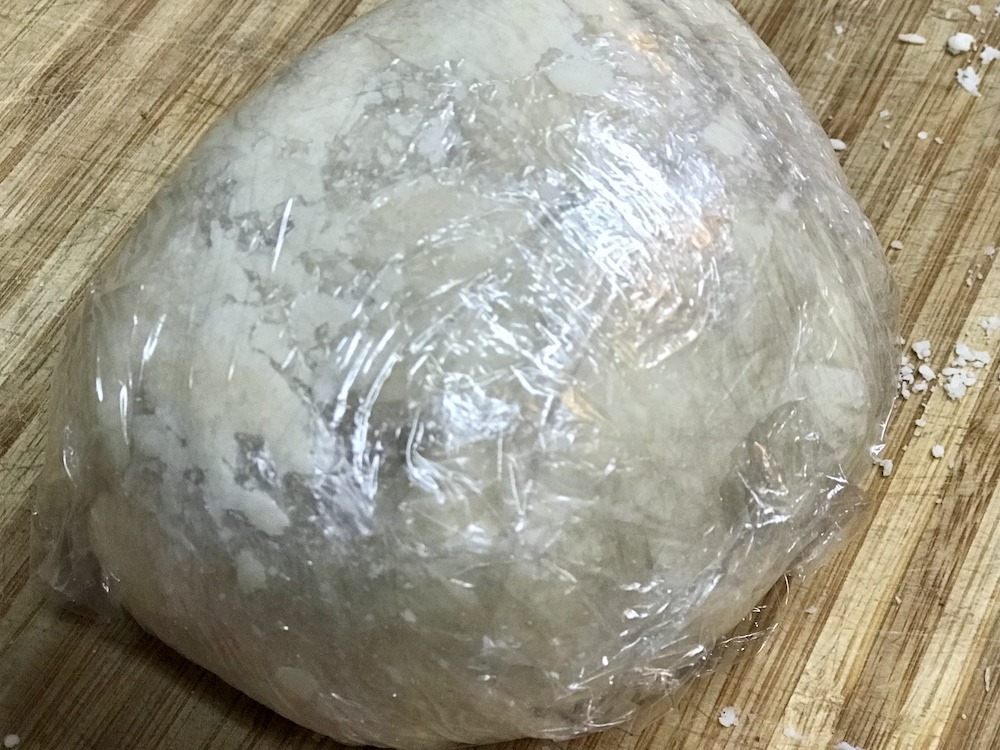
Once the dough has formed remove from the bowl and wrap tightly with plastic wrap. Place in the fridge to chill and rest overnight if possible.
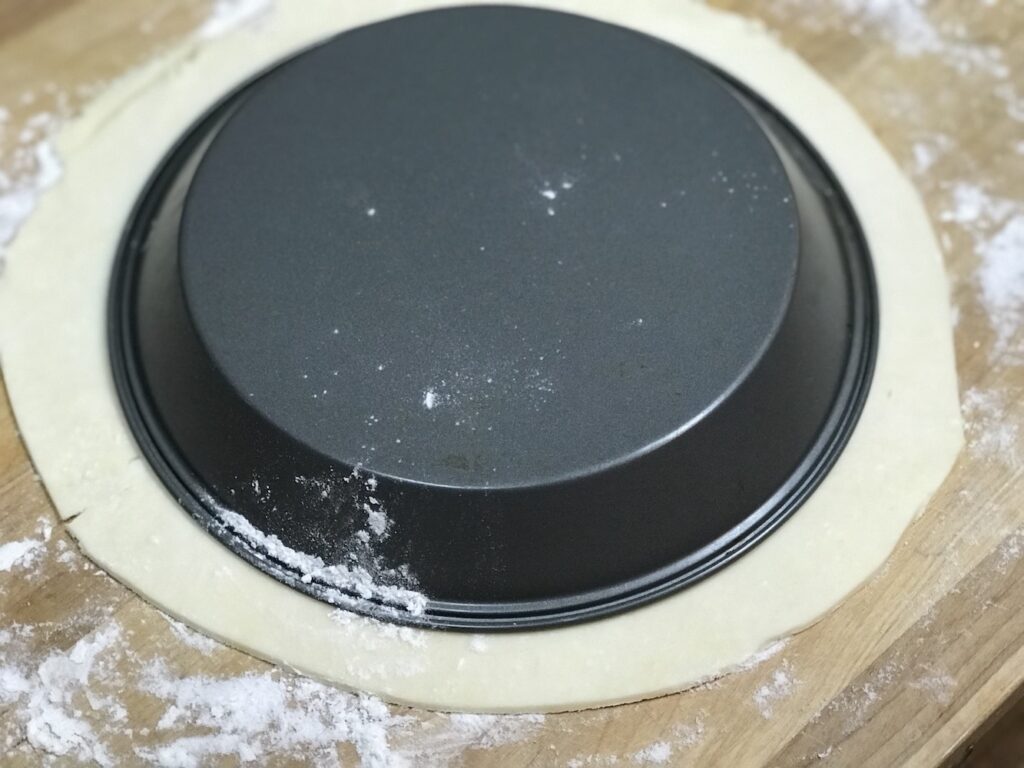
Step 6
Lightly flour your surface that you will be rolling the dough out onto. Allow the dough to sit at room temp for approximately five minutes to allow it to loosen up and make it easy to roll. Roll the dough out to about 1/4 inch thickness and leaving 1 to 2 inches of overhang from your pie pan.
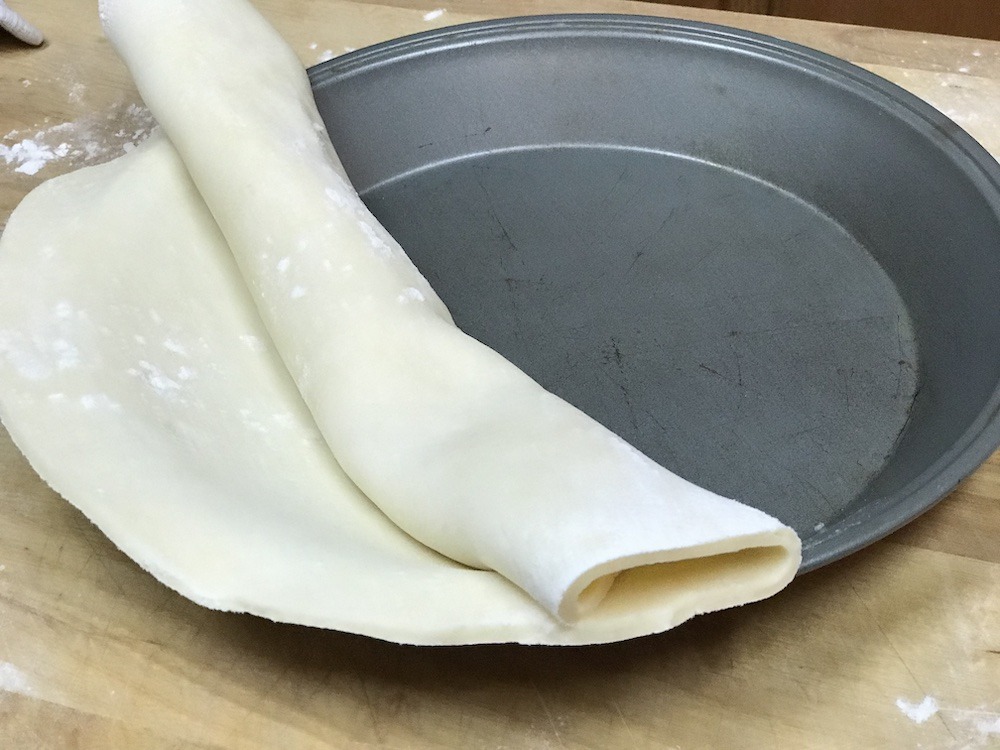
Trim edges and roll the finished pie crust up to transfer to your pie pan.
Step 7
At this point you can either fill your pie crust if you are making a two crust pie, or you can par-bake your crust.
To par-bake, first dock the pie crust by poking small holds all over the bottom of the crust using a fork or this handy dandy pie docker. This allows steam to escape.
You can also use weights as well to prevent your crust from getting puffy.
For a fully cooked pie crust to be used with unbaked pie fillings like coconut cream or chocolate mouse, bake at 375 degrees for about fifteen minutes or until golden.
For partially baked crusts to be used in pies that have to cook, but you don’t want a soggy bottom, like our favorite Chocolate Chip Pie, bake at 375 for 8 to 10 minutes.
Happy Baking
I hope that this step by step guide to the best pie crust has inspired you to bake some delicious pies this coming weekend! We love a good pie here on the farm and we love it even more when the crust is perfection along with the filling!
What is your favorite pie? We would love to know! Leave us a comment below.
Also, don’t forget to subscribe to our weekly newsletter. It is full of great updates and surprises! You can also follow us on Instagram and Pinterest for more recipes like this one.
The Best Pie Crust Recipe
Equipment
- Food Processor or pastry cutter
Ingredients
- 1 cup All Purpose Flour
- ½ cup cold butter
- 1 tsp salt
- ¼ cup cold milk
- 1 tsp Apple Cider Vinegar
Instructions
- In food processor pulse butter, flour, and salt until well incorporated and no butter flecks are easily seen. Chill for one hour
- Add vinegar to milk and pulse into dry ingredients just until the dough pulls together.
- Remove dough from processor and wrap in plastic wrap. Refridgerate minimum of on hour, but preferably overnight.
- On a lightly floured surface, roll the dough out into a round pie shape trim to be about 1 inch larger around than the pan
- Place dough in pan. For par baked crust, bake at 375 for 15 minutes until fully golden brown.


5 Comments
Eleanor
Thank you for sharign this great recipe, I’ve never really tried to make pastry properly as my mum has always done it- and I need these tips! Thank you for the great post xx
Cristina Rosano
This was such a great post! We really love having pies and love to read about them! Making the perfect crust is always such an important part and these tips will surely be helpful for everyone x
Jaya Avendel
I have never used apple cidar vinegar in my crusts before, but I love the idea of trying out your recipe with my upcoming pumpkin pie! A good crust truly makes a pie delicious. 🙂
KEVIN FOODIE
This post triggered so many memories from my culinary art classes in college. I learned to make different types of pastry crusts: ruff puff, flaky and pie crust. Thanks for sharing your recipe. Love the twist on the apple cider vinegar.
Keep Calm & Drink Coffee
We tried to prepare the first pie crust last year when my son after a webinar about a pumpkin pie had to prepare one for homework. but as Jaya wrote: no apple cider as well.
So now we will try yours!
GRAZIE!